Gaps are all filled but I had to do this in multiple steps.
Fine Molds F-4J Phantom II WIP
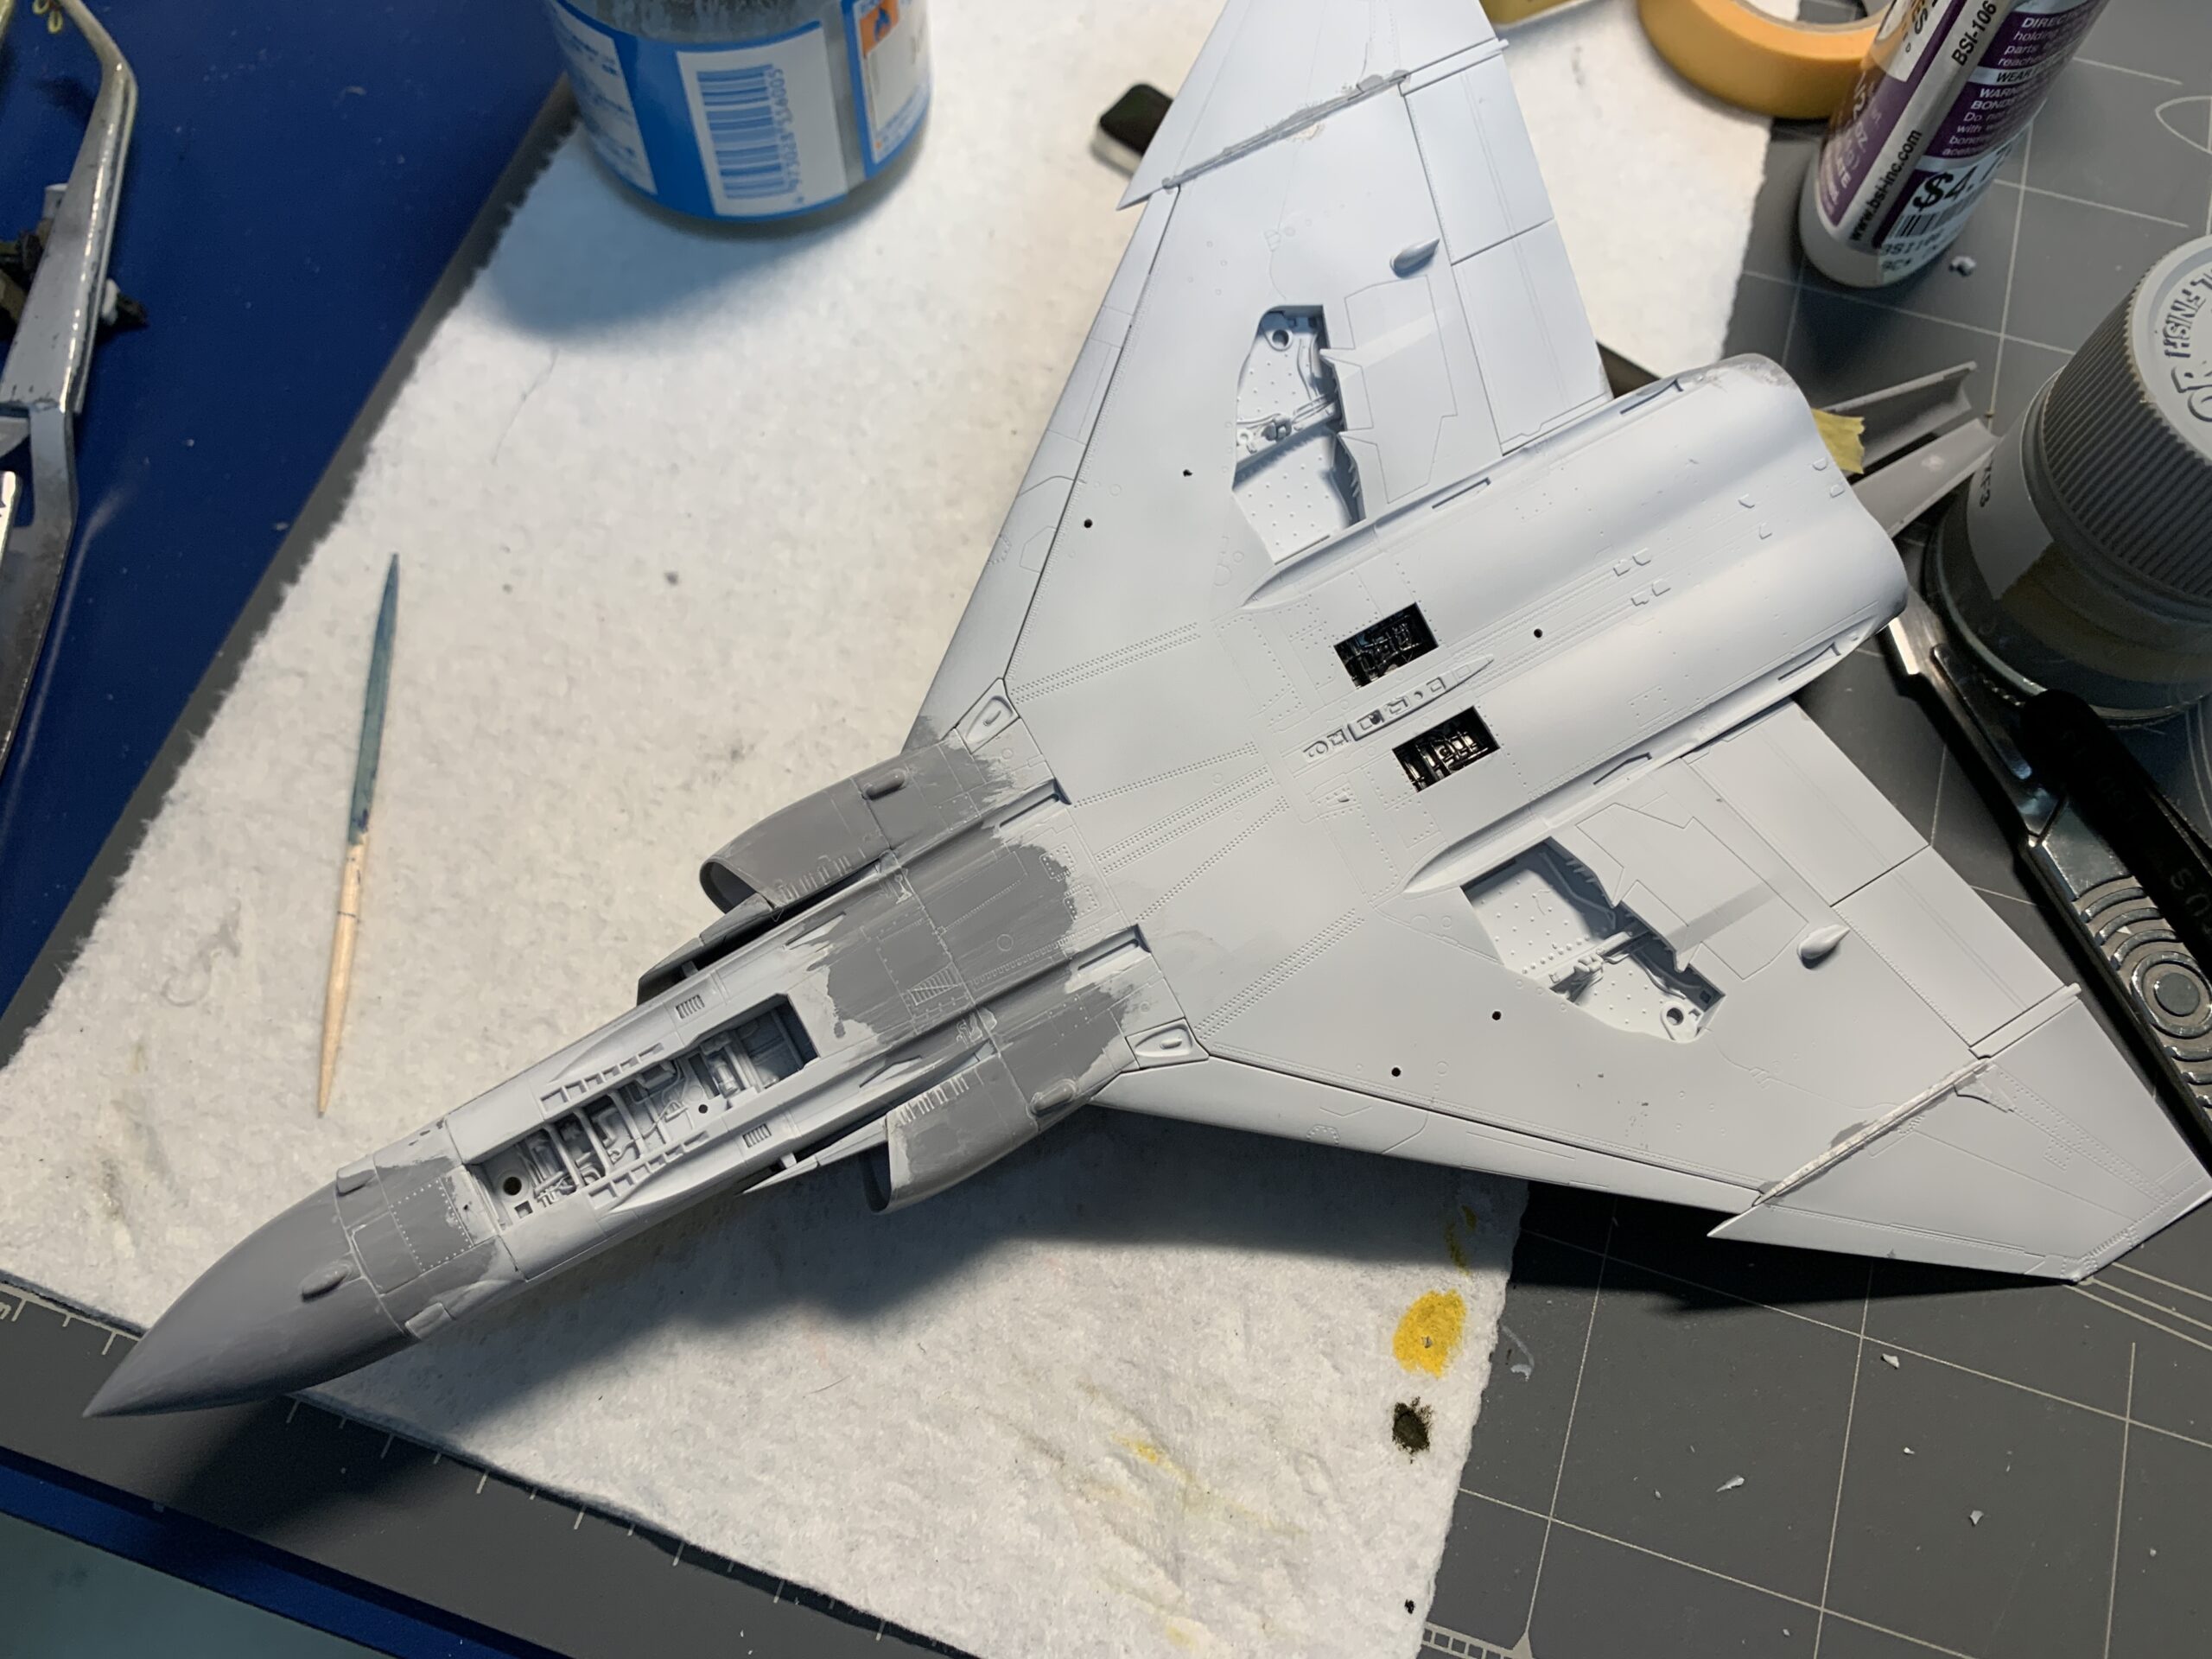
After getting it glued together I shot some white primer just to see how she looked. That’s when the gaps really started to show, and frankly they then appeared HUGE!
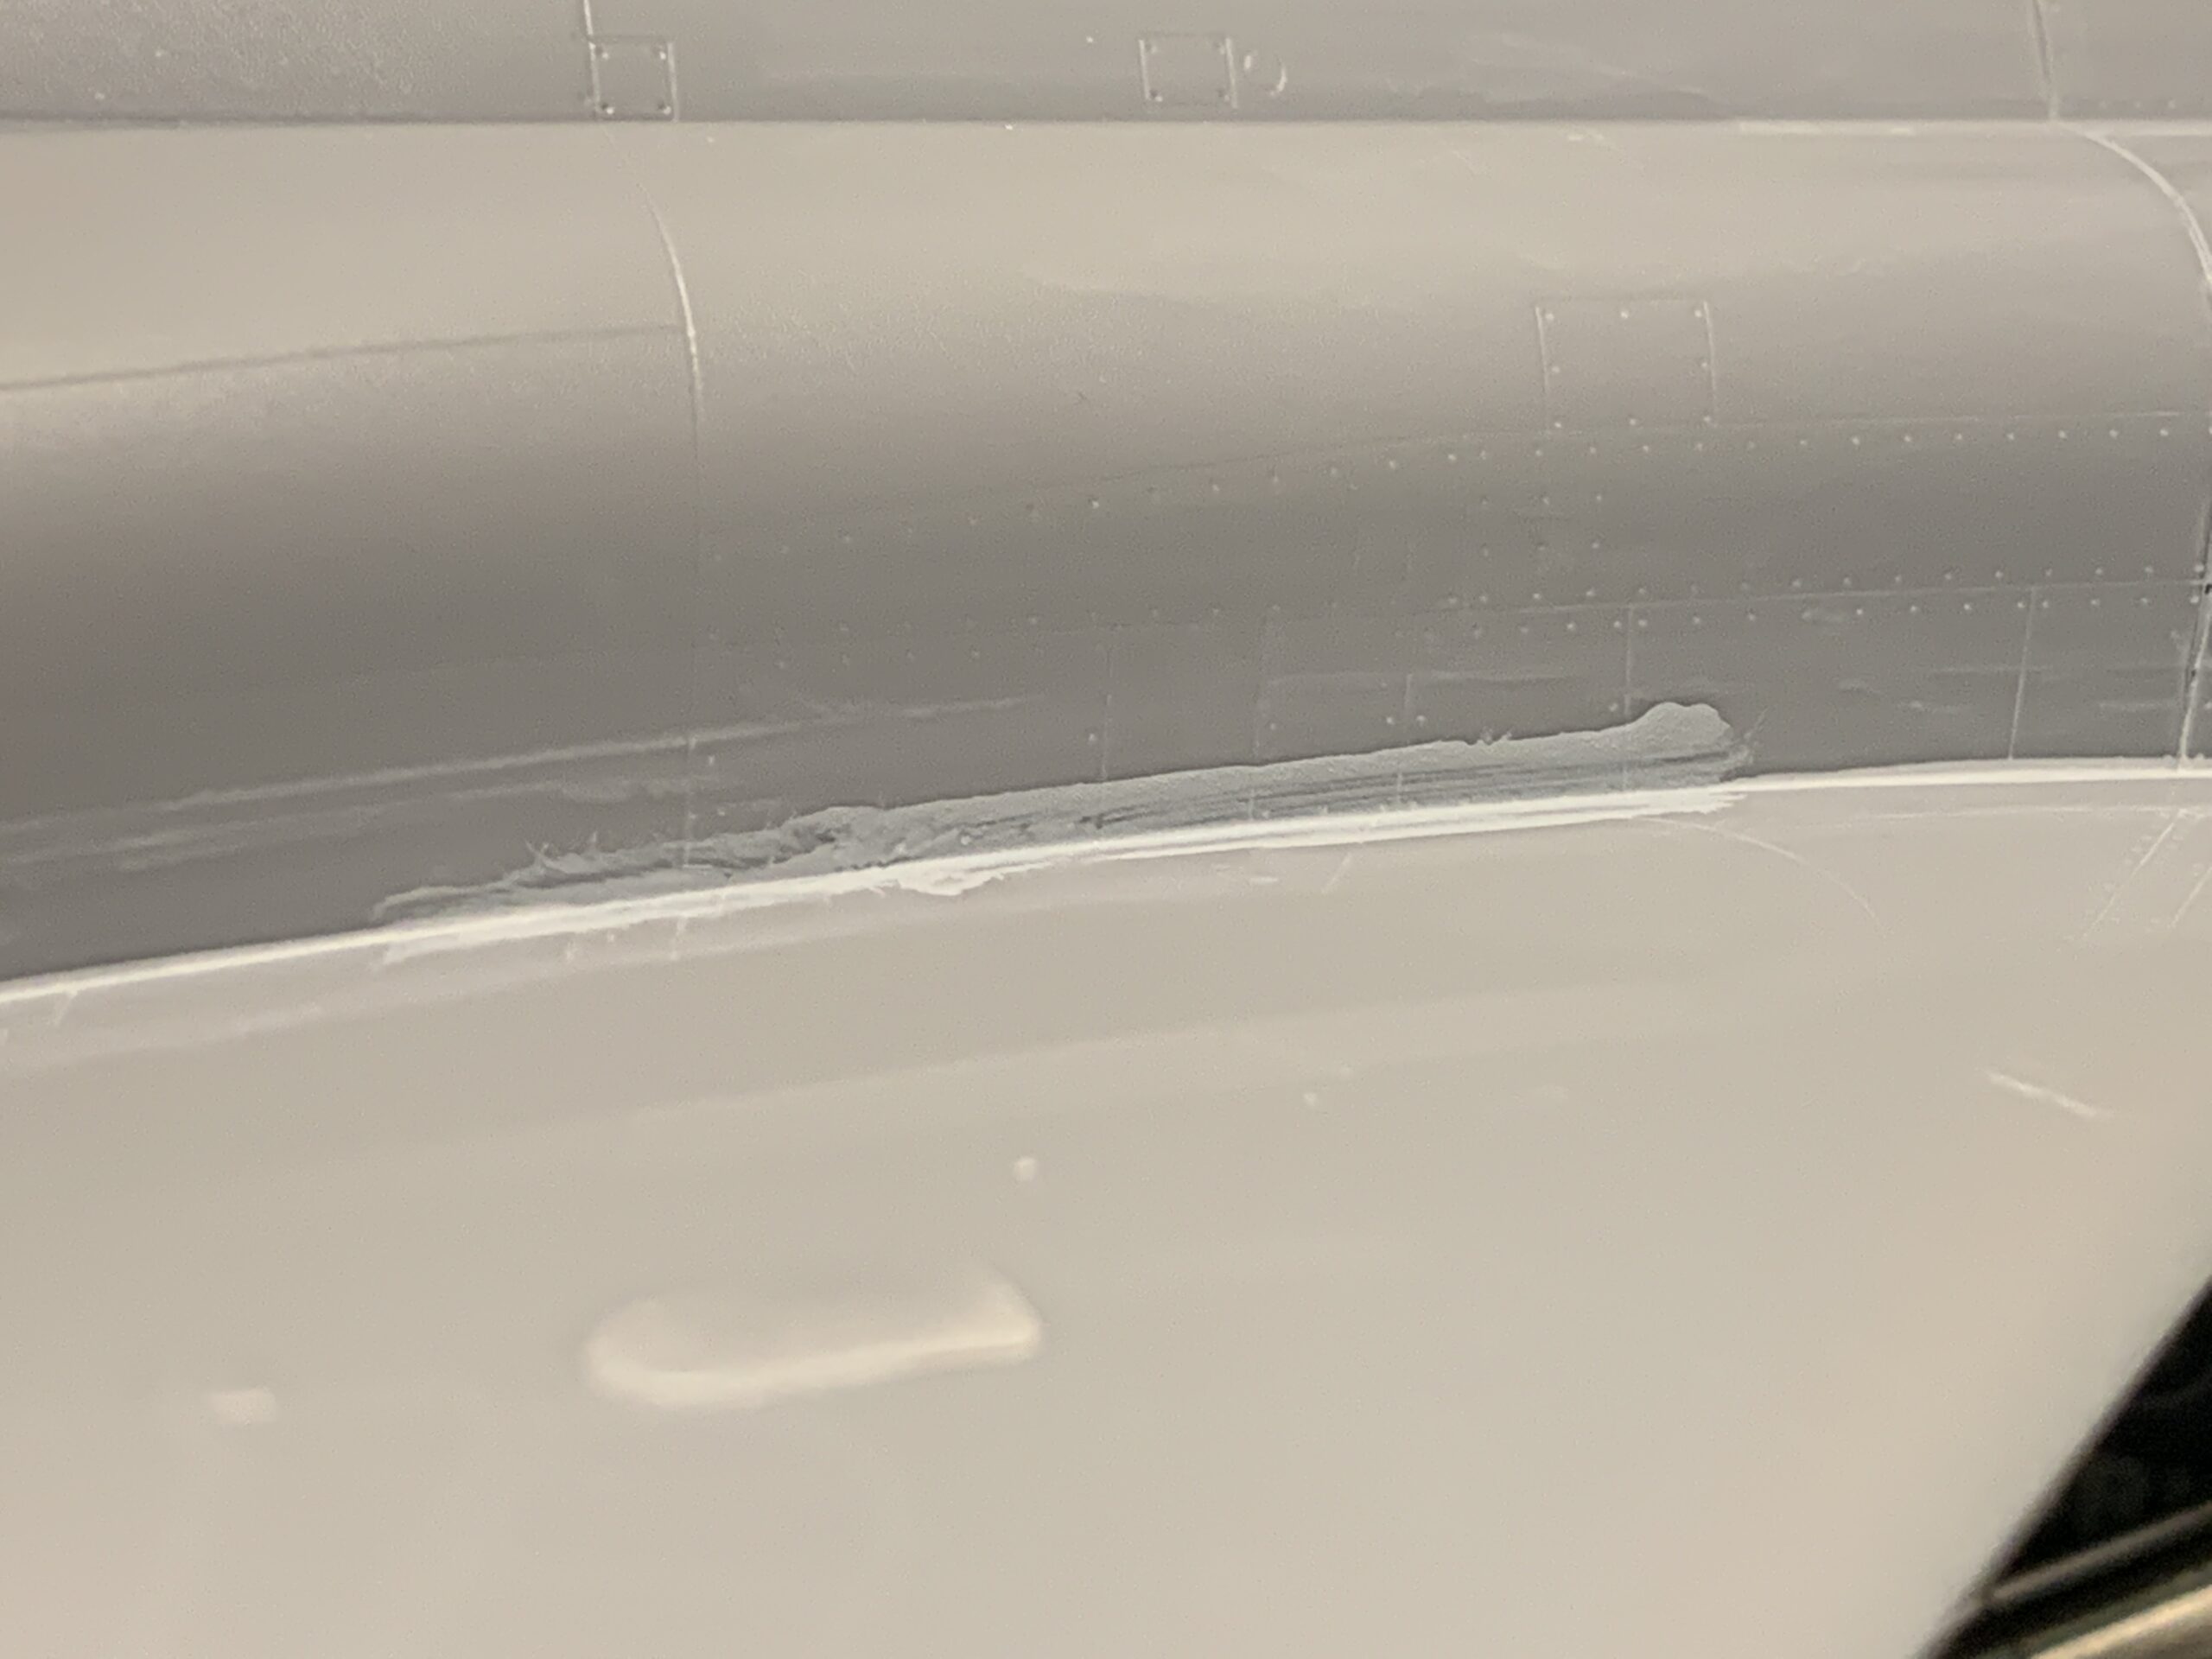
That gap from not trimming the wing underside showed up in spades. I ended up filling it twice with Mr Surfacer, each time cleaning up the excess with Mr Color Leveling Thinner.
This is round 2 on the wing-fuselage joint. Again with Mr Surfacer. Round 3 (if needed) will be a water based acrylic like Perfect Plastic Putty. While PPP tends to shrink, that’s okay on a panel line as it continues to show the panel line.
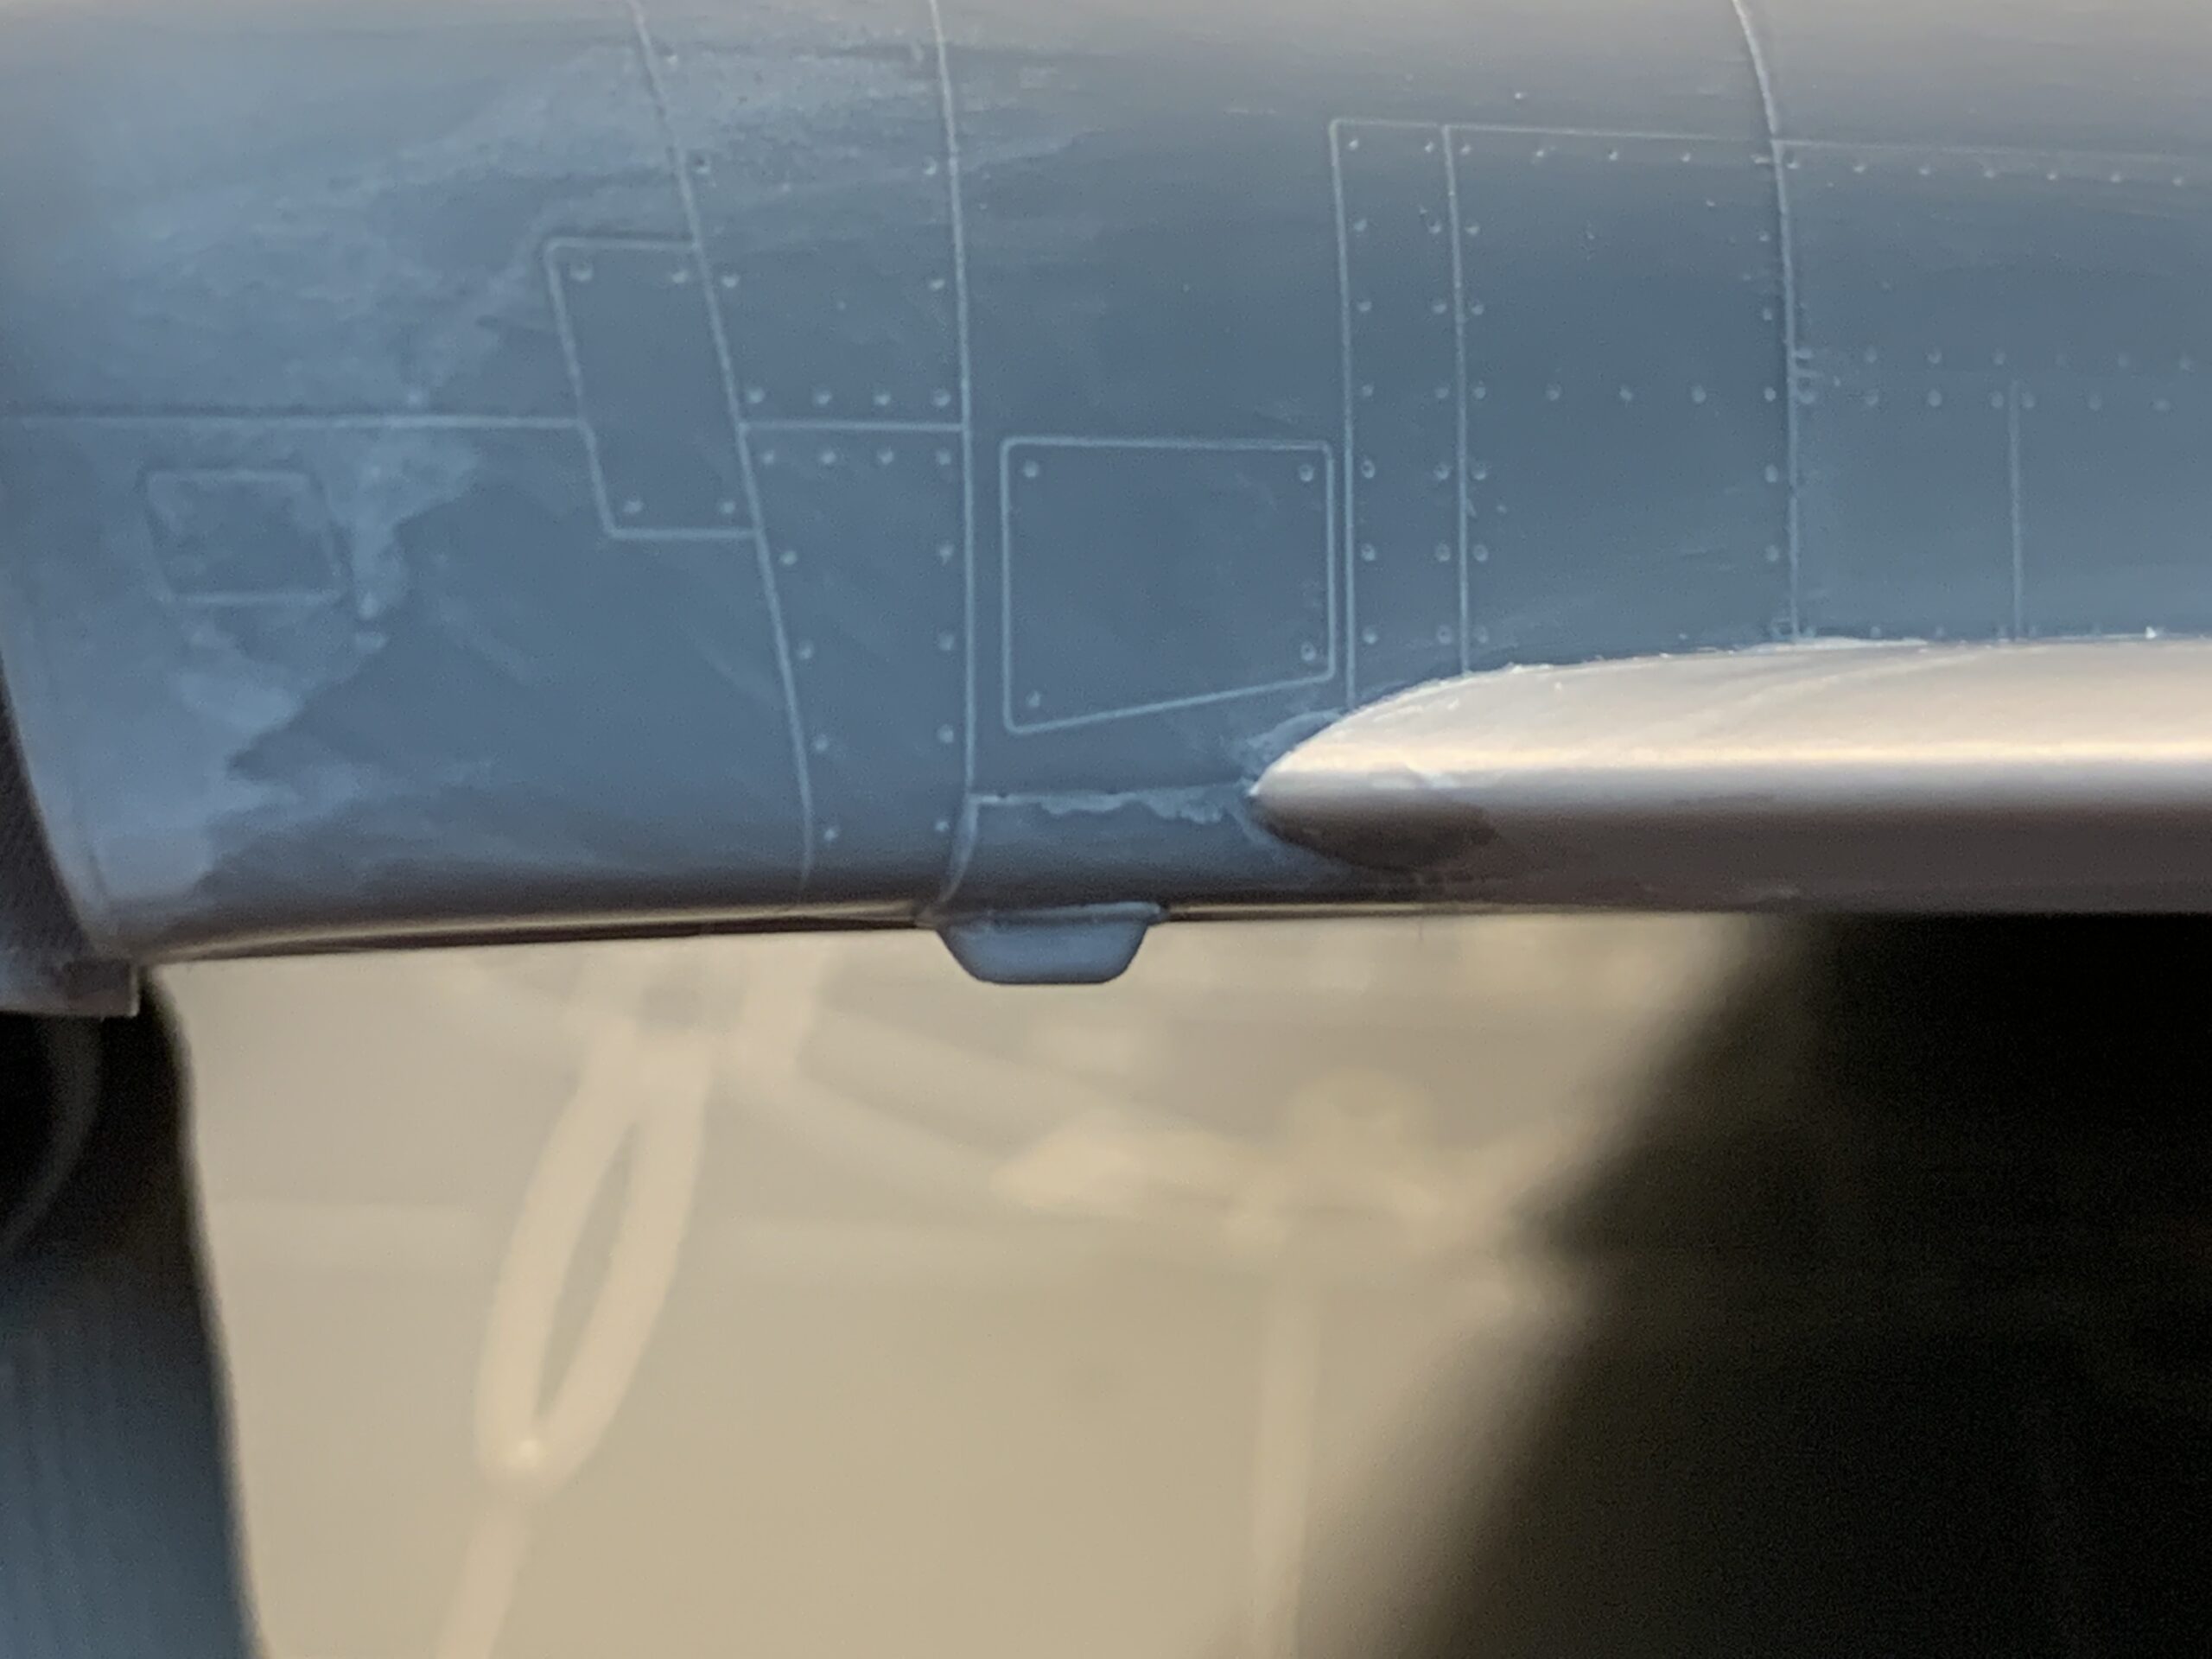
Wing leading edge where the wing underside marries with the fuselage up forward. This was the worst gap but it filled in nicely.
Round 2 on the starboard wing. For some reason this side had a much wider gap than on the port side. To be fair, “wide” is an exaggeration. The difference between onion skin paper and regular bond paper.
Back aft the gap is a bit more pronounced only because the joint caused a bit of a lip. It looks worse than it is.
She’s now ready for the paint shop. Well, first another priming just to confirm that I’ve cleaned it all up. If so, then she’ll get white on the underside and Light Gull Gray on the upper surfaces.