
I built this kit back in 2010 and posted the build on the 72nd Aircraft website. For completeness I decided to post it here as well.
 |
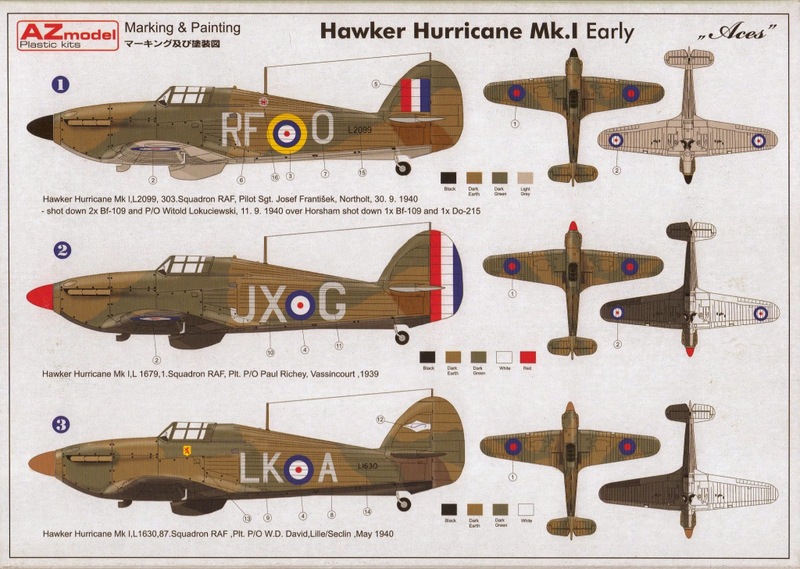 |
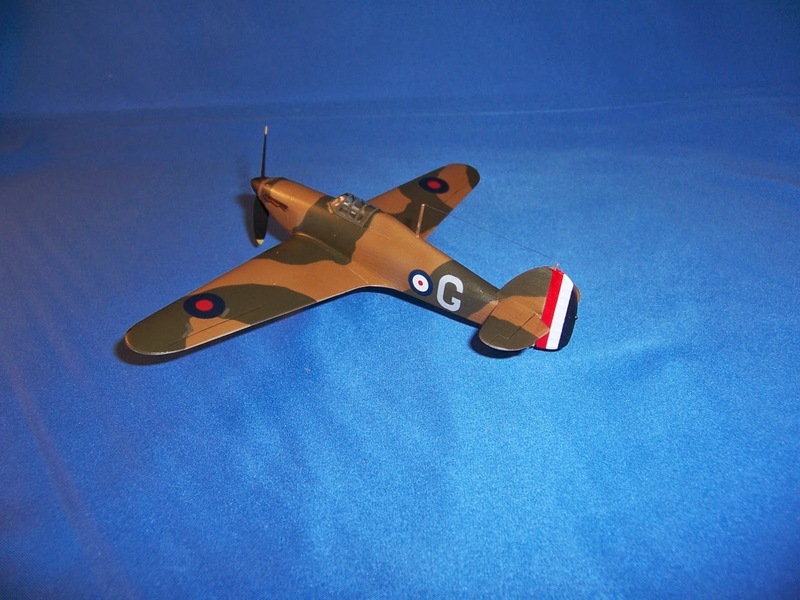
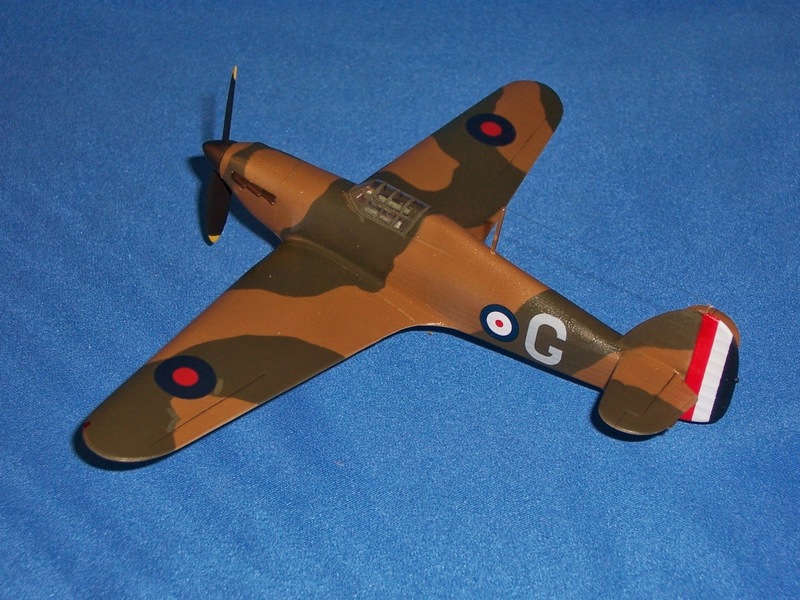
My subject is a well-known Mk I, L1697/JX-G, 1 Squadron British Expeditionary Force, France, May 1940. P/O Paul Richey. Reference is Aviation Workshop On Target Profile 12, page 9. It’s also an option in the kit decals.
Parts layout
Definitely a limited run kit; the sprue gates are a bit big and the plastic a bit soft. Careful sanding cleans up the parts nicely.

The resin parts also require some work. Probably the hardest effort is getting them to fit, IMHO. This requires significant sanding and fitting, but is well worth the effort.
Wing fabric is well done, however I “gooned” it up by painting some Dark Earth before I primed, which knocked down the effect a bit.

The landing gear bay inserted
As you can see, there is significant plastic that required a bit of sanding. I used a very coarse grit to thin it sufficient for the top wings to fit.


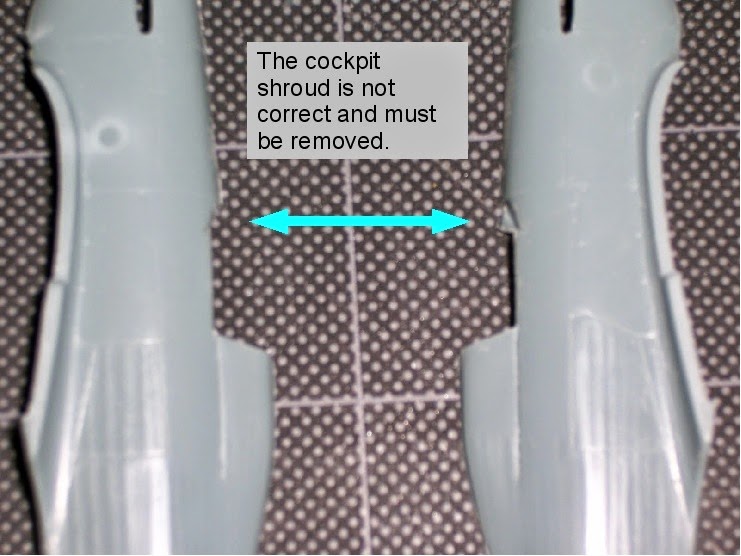
On to the fuselage
While a bit blurry, the shroud should be removed, carefully.
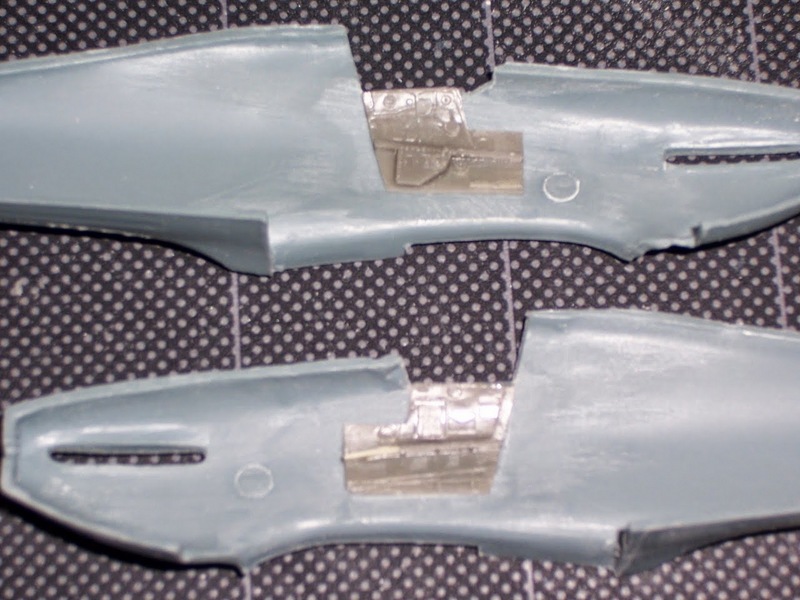
After much sanding, the sidewalls are installed. I gave the entire cockpit a base coat of Tamiya aluminum (XF16). Generally cockpits of this timeframe are primed then painted overall aluminum dope. In 72nd, unless the cockpit canopy is open, you can’t see much of it. I don’t open canopies so didn’t spend much time here.

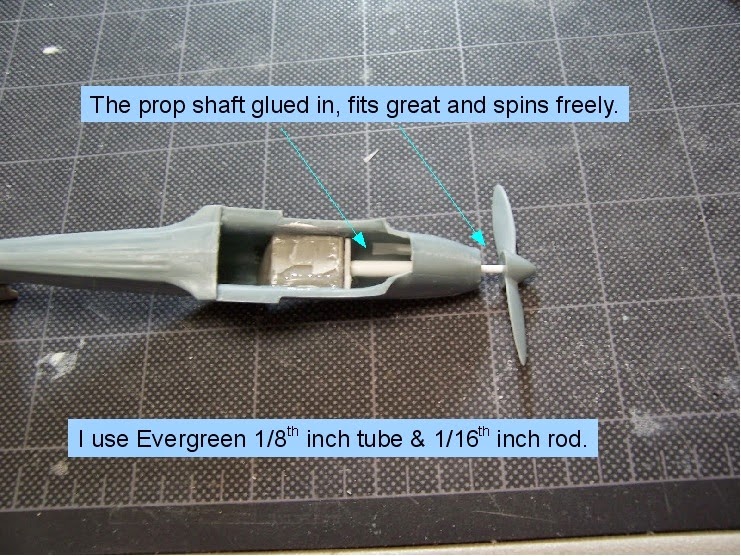
Final prep for the wing – firewall for the prop holder and a backing sheet for the exhausts. The prop doesn’t have much other than just gluing it on the nose. I like to install tube/rod that allows the prop to spin freely and I can remove it for transport. Additionally, the openings for the exhausts are just holes. If not careful they will just drop into the fuselage! So I put some card stock for both closure and to give something to glue to.

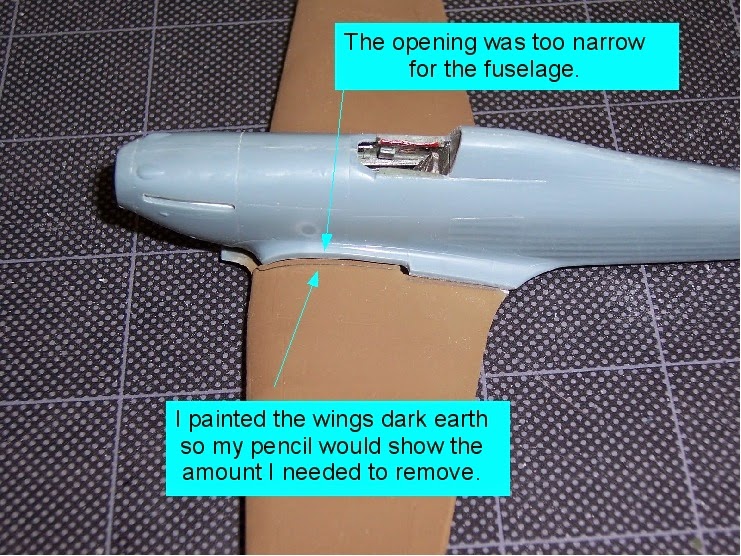
Lots of removal
As you can see from the pencil marks, there is too much plastic on the wings for the fuselage to fit. That’s better than having to add layers of card…
 |
 |
 |
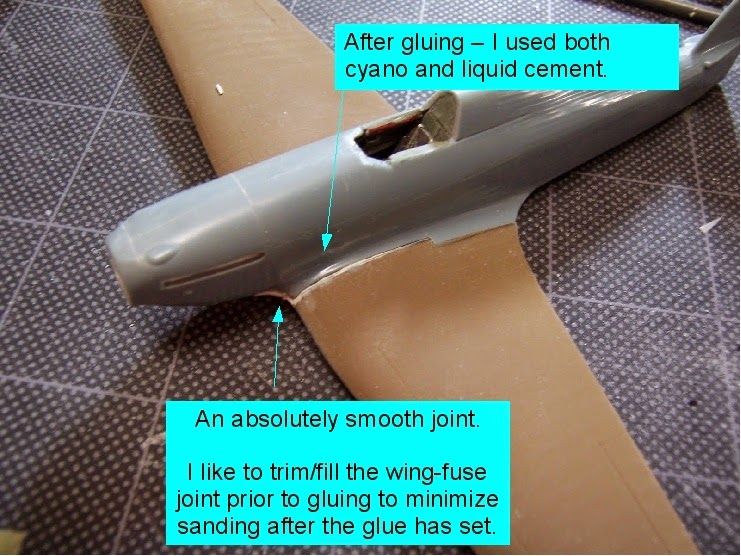 |
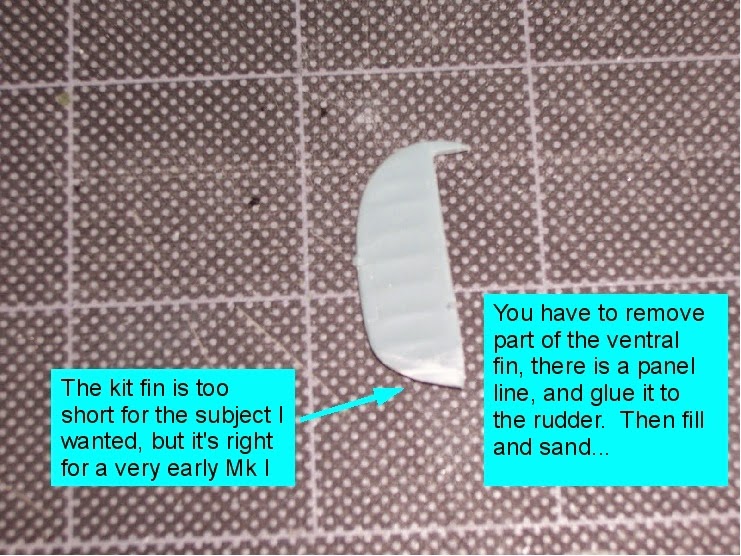
I removed material from both fuselage and wing. The end result is a nice smooth joint, before any glue was applied. And no sanding on the exterior! Okay, this is the rudder…
but the text says fin. The fin and rudder both are too short for the subject. The very early Hurricane Mk I’s were delivered without the under-fuselage (ventral) fin extension. The kit provides this as a separate piece so you have the option of using it depending on your subject. Mine needed it installed. The rudder was also extended to reflect the increased ventral fin size. That piece is actually part of the fin in the kit and must be removed and attached to the rudder.
 |
 |
The canopy
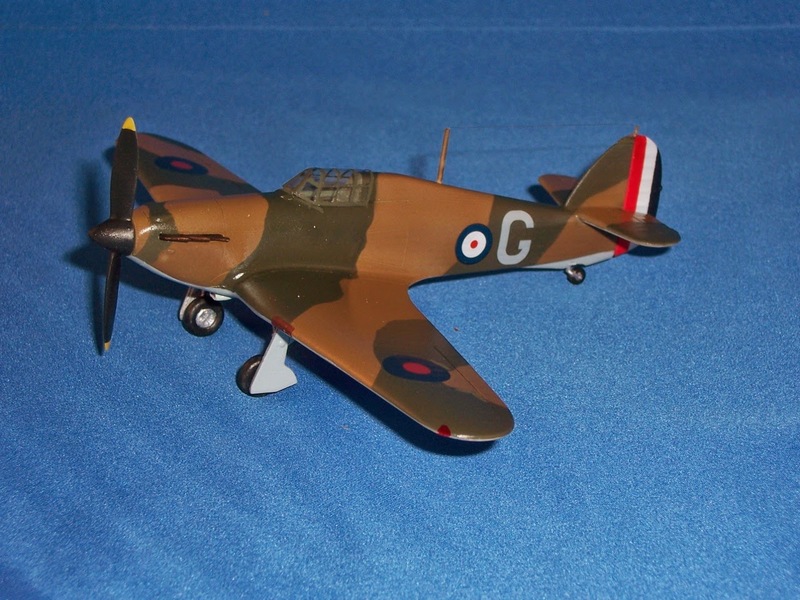
A very big issue with the kit was the canopy. It does not fit. It’s not worth salvaging as it’s thick and would require major surgery on the fuselage spine to get the canopy to begin to fit. So I ordered a Squadron vac canopy, cleaned it up and it fit like a glove. I made the antenna mast from rod as well as the rudder wire connection.
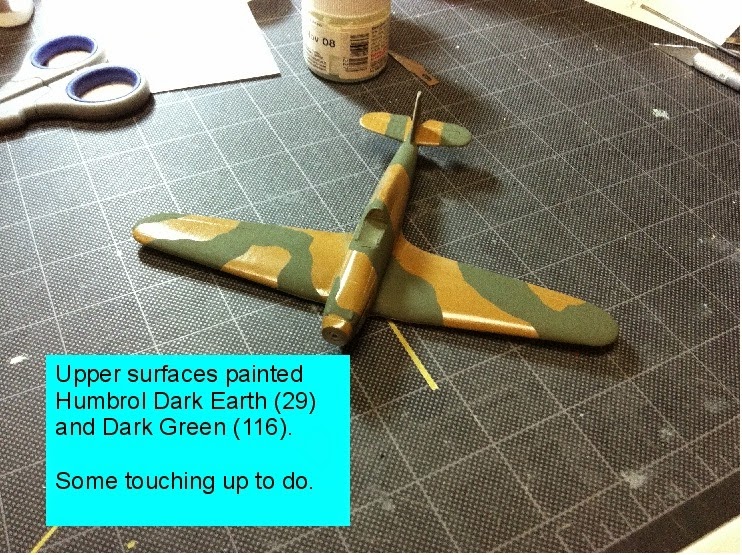
Painting
Here a bit of speculation may enter…while 1 Squadron was in France, they initially had the standard Night/White undersides for spotter recognition when crossing the English coastline. But in France having some sort of blue or gray shade similar to the Armee de l’Air or even the Luftwaffe was more appropriate. So some aircraft undersides were supposedly repainted. Typically this meant two coats to ensure coverage, and I chose to show JX-G at an intermediate, single coat stage for interest. So one side is lighter than the other, meaning the Night is showing through the first coat of a blue-gray paint.

Finished
As a build it is why I enjoy the hobby. Most of my kits are not the shake-n-bake kits that fall together, and require some effort. This always improves my skills and ensures I do much better on the next one.
 |
 |
 |
 |
Thanks for looking…