
This is one of those products that has changed my modeling; therefore I’d like to share why.

Uschi rigging thread is a flexible thread that is also round. So when it is applied to a model, it does not have the “flat” or square effect that some flexibly threads may show, especially noticeable if the line has a twist in it. It is also in 3 different sizes, .01, .02 and .03 mm. So even the largest is quite small.
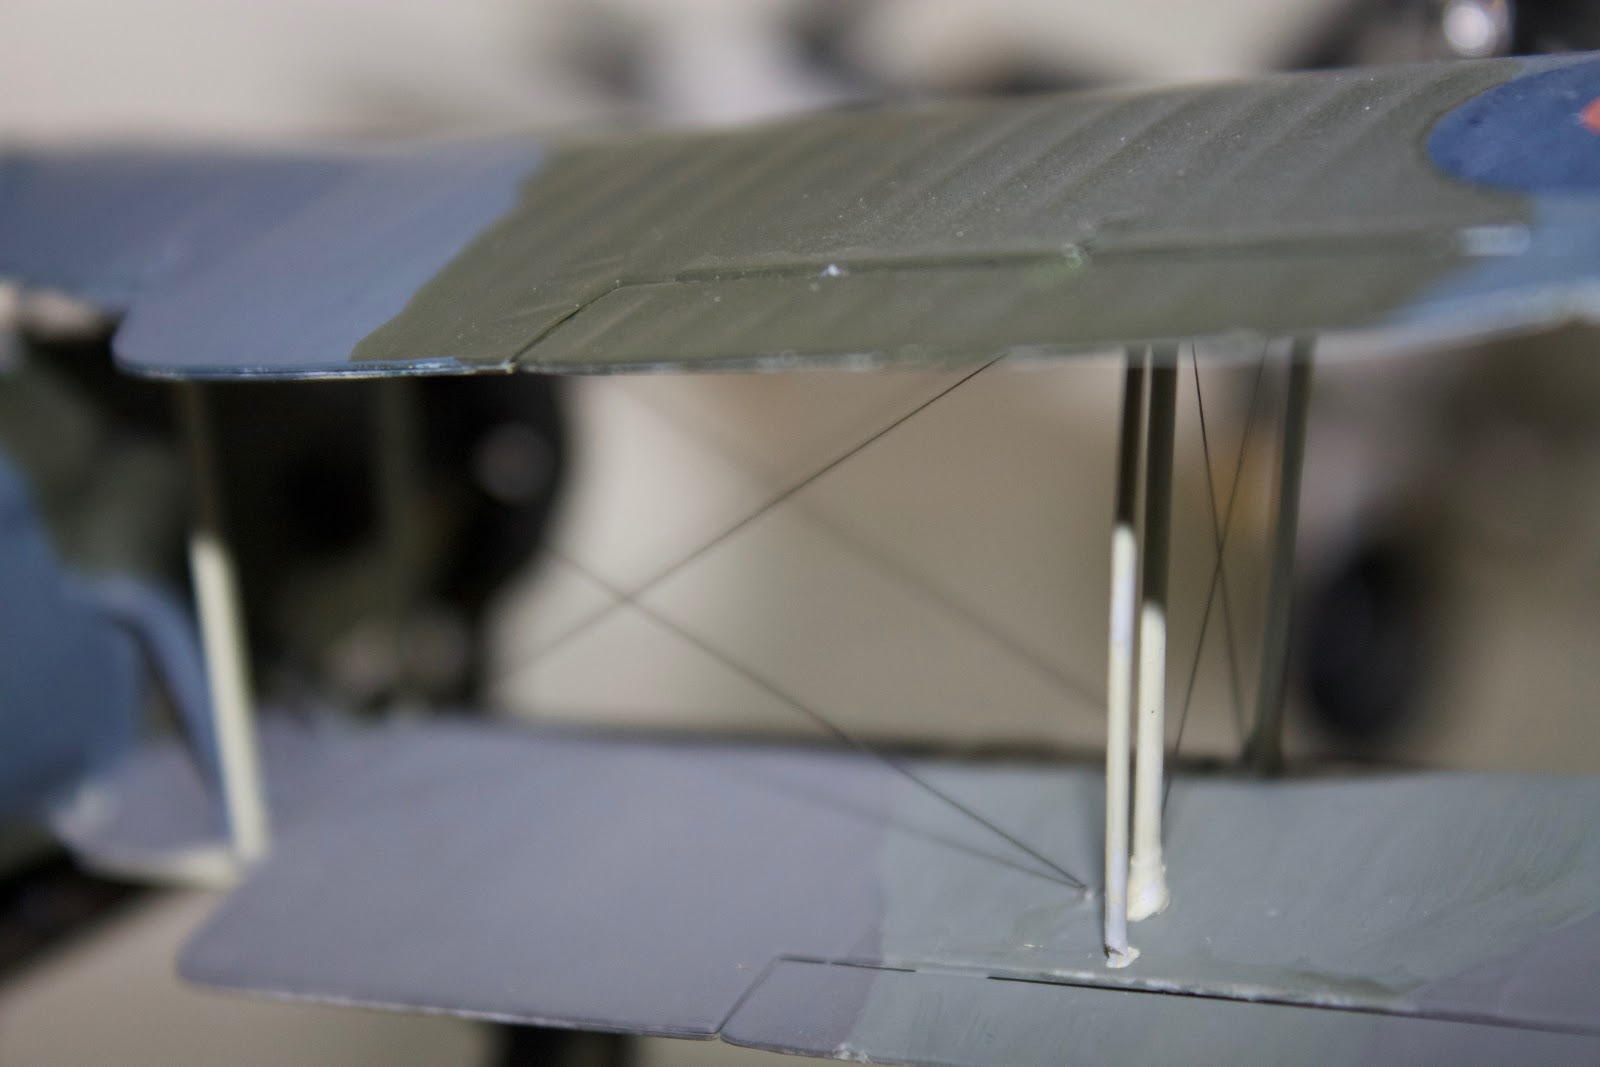
With rare exception, my aircraft models are all 1/72nd scale. I use all three thread diameters. The largest (.03mm) I use for inter-plane flying and landing wires. I apply it by planning my rigging before I build. Well before the paint stage I determine exactly where each flying or landing wire is attached to the wings / fuselage and then drill a .05 mm hole using a drill in a pin vise. I generally don’t go all the way through the plastic, but sometimes it makes sense to do that. On the Airfix Swordfish the wings are thick enough for an upper and lower half, so I certainly drilled all the way through on the bottom wing upper surface, and the top wing lower surface. I also drill at an angle that approximates the angle of the wire as it exists the structure.
After construction and paint, when I’m ready to rig, I put a very small dab of superglue into the hole. Typically I start with the visible side, as in the lower wing, first. That way I have a bit more control on the appearance. The thread is then dipped in accelerator. I then quickly (and carefully) place the thread in the hole. I’ve got about a second as that is how long the superglue takes to set with the accelerator on the thread. Most times I get the thread deep into the hole, which ensures a very solid fit there.
I then repeat the gluing process for the top (underwing) position, but this time the line is slightly under tension. I’m careful not to make the line taught as that means less forgiving, but I want it tensioned just enough to retain its shape over time.
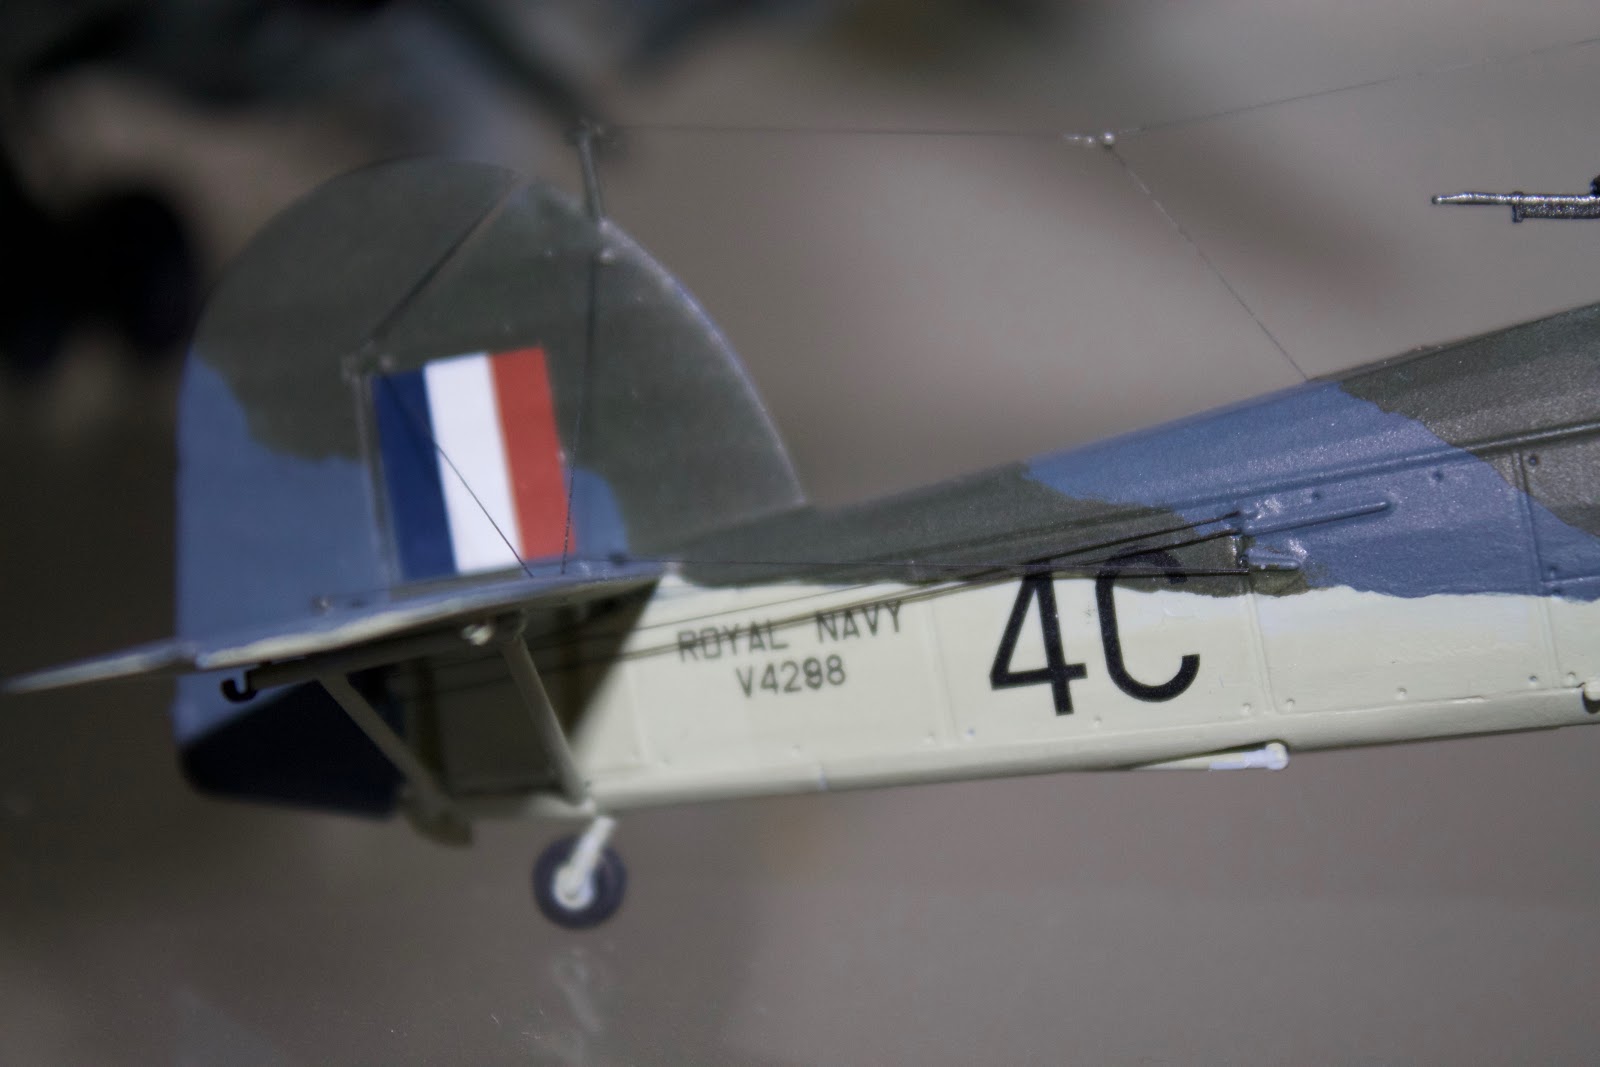
The medium diameter thread (.02mm) I use for control wires. For the Swordfish I first glued the end in the fuselage, where it exits, in the same manner as the lower wing for the flying wires. The next step is to put a drop of glue on the guide pulley (not all models have these, but the Swordfish did) on the tail plane. Some times these are big enough to allow a drill bit to go all the way through, which actually makes for a more realistic look than having it glued on. The final step is to pull it in tension to the control horn on the rudder/elevator/aileron and attach with superglue. Again, I use accelerator on the thread.

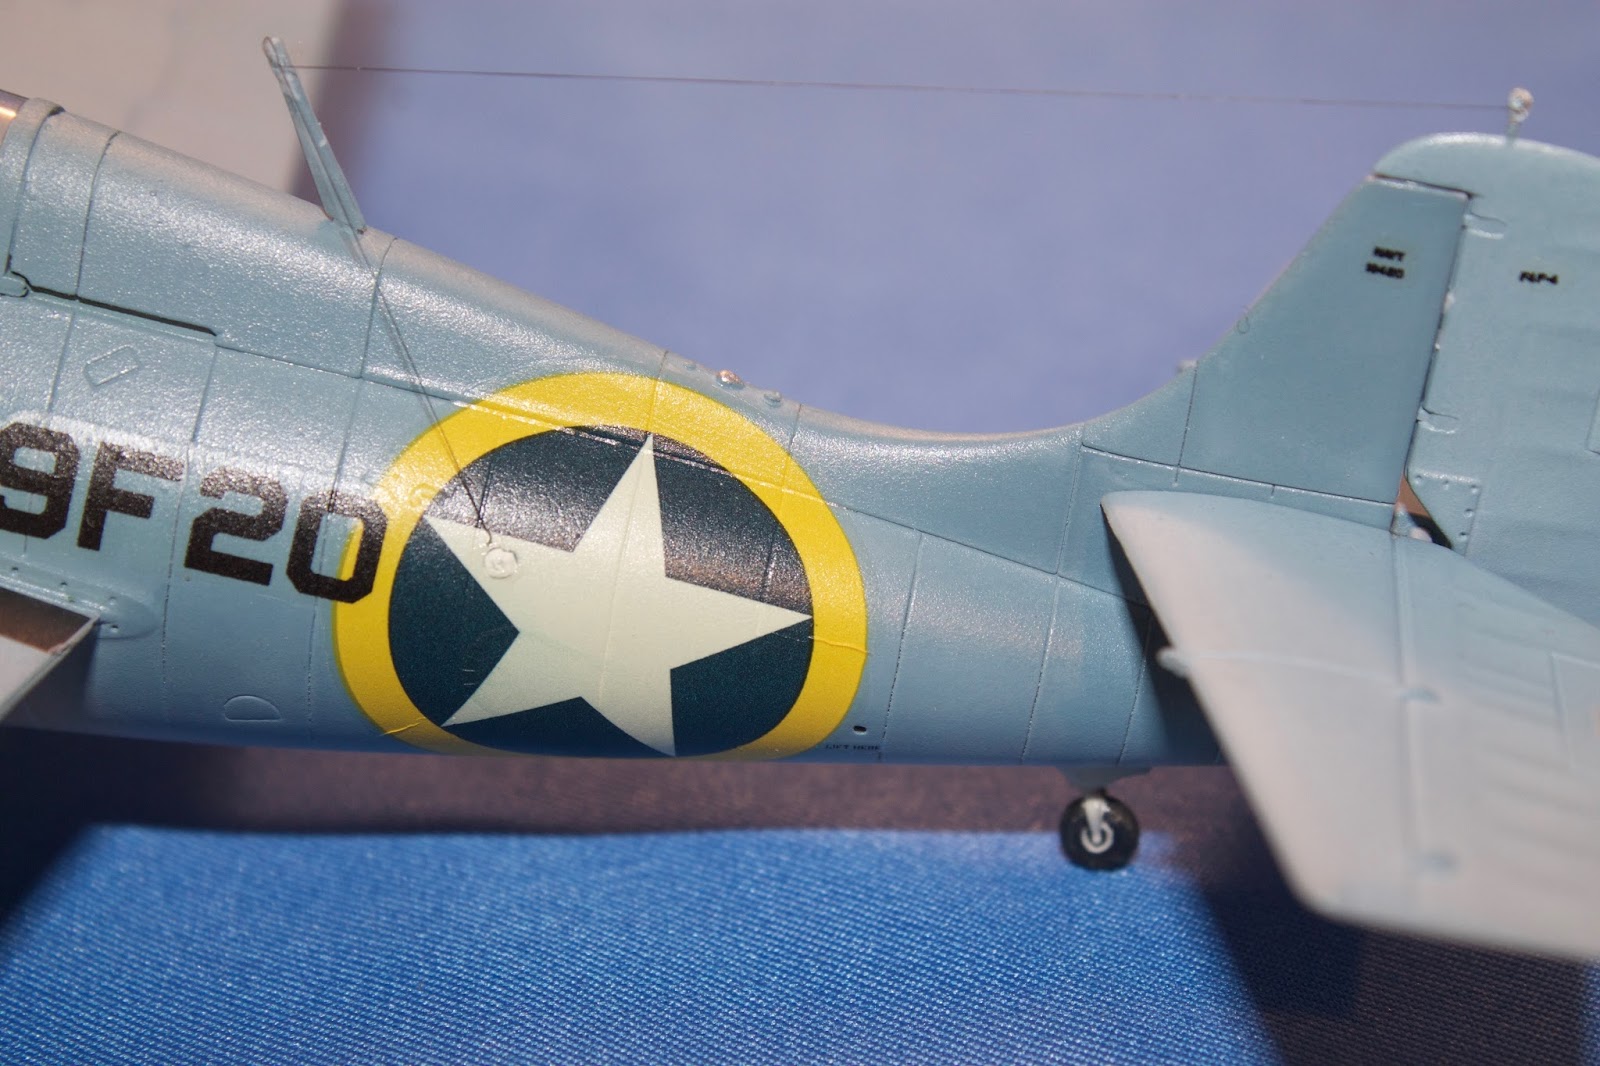
Difficult to see in the photos because of the varying focal planes, but the overall effect is quite nice. At arm’s length the hint of wiring / rigging is there, which is really all I want. In period photos sometimes the wires are invisible, but many times there is just that hint.
With 147 feet on each spool, I suspect some new product or maybe even programmed nanobots that can thread like a spider will be the latest craze when this runs out.
Thanks for looking…