
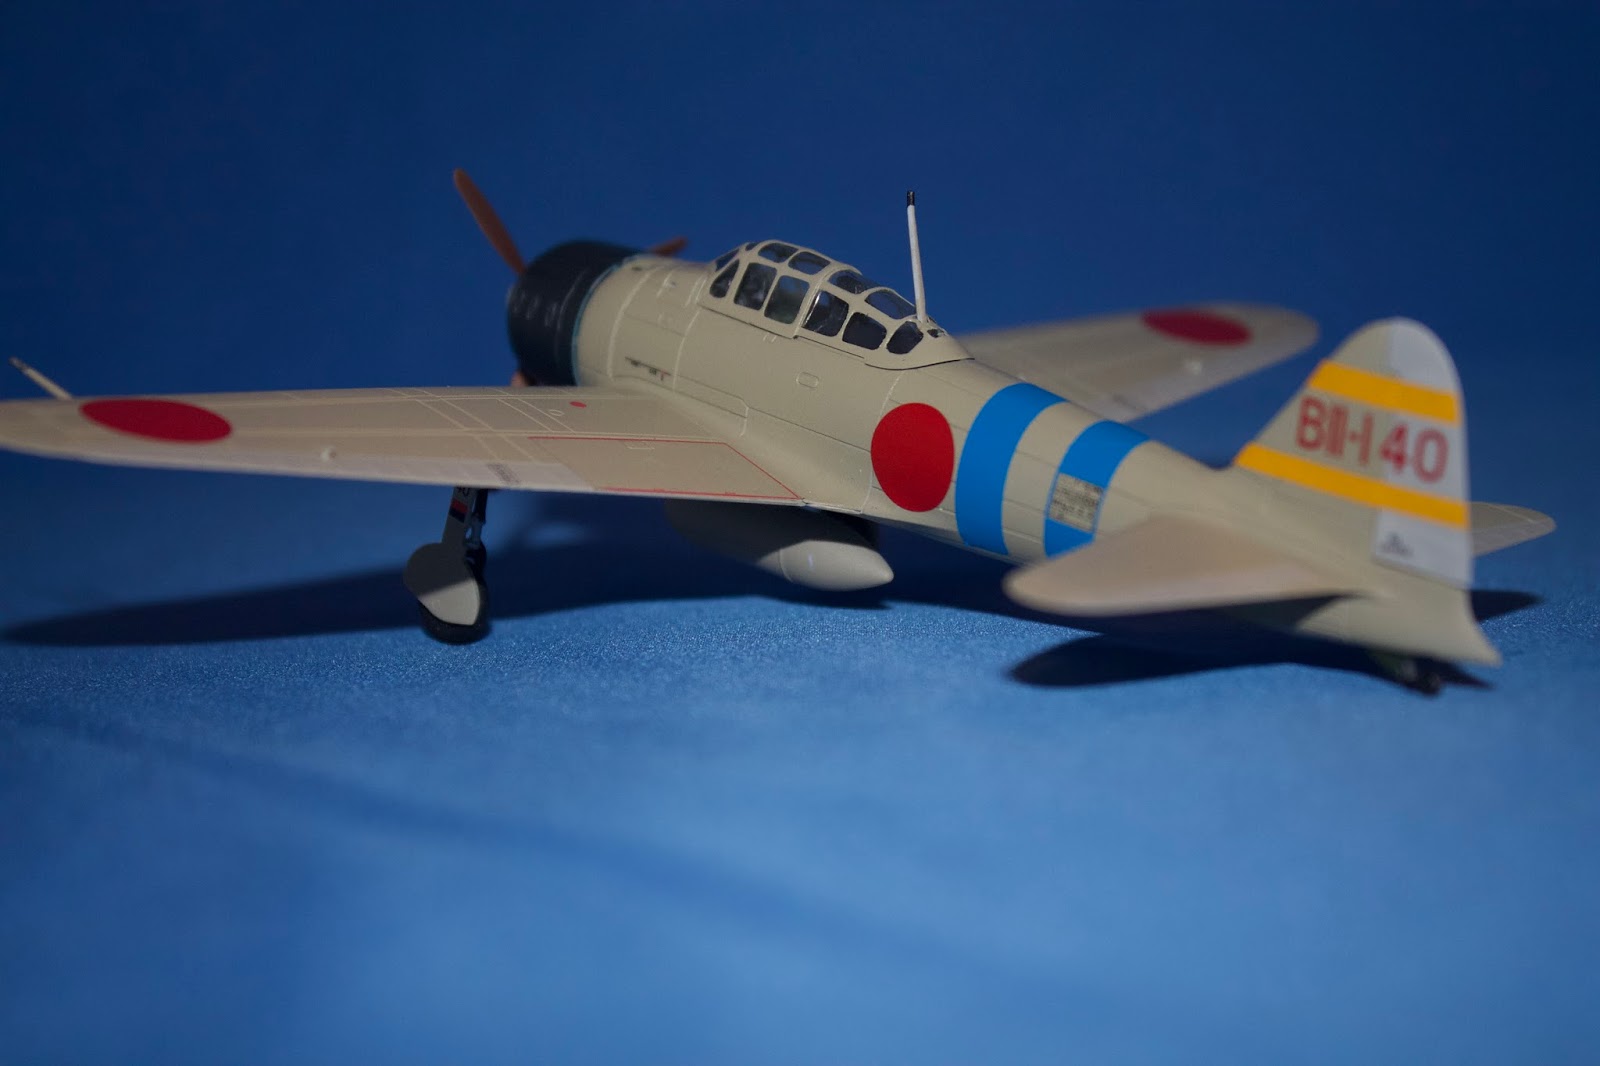
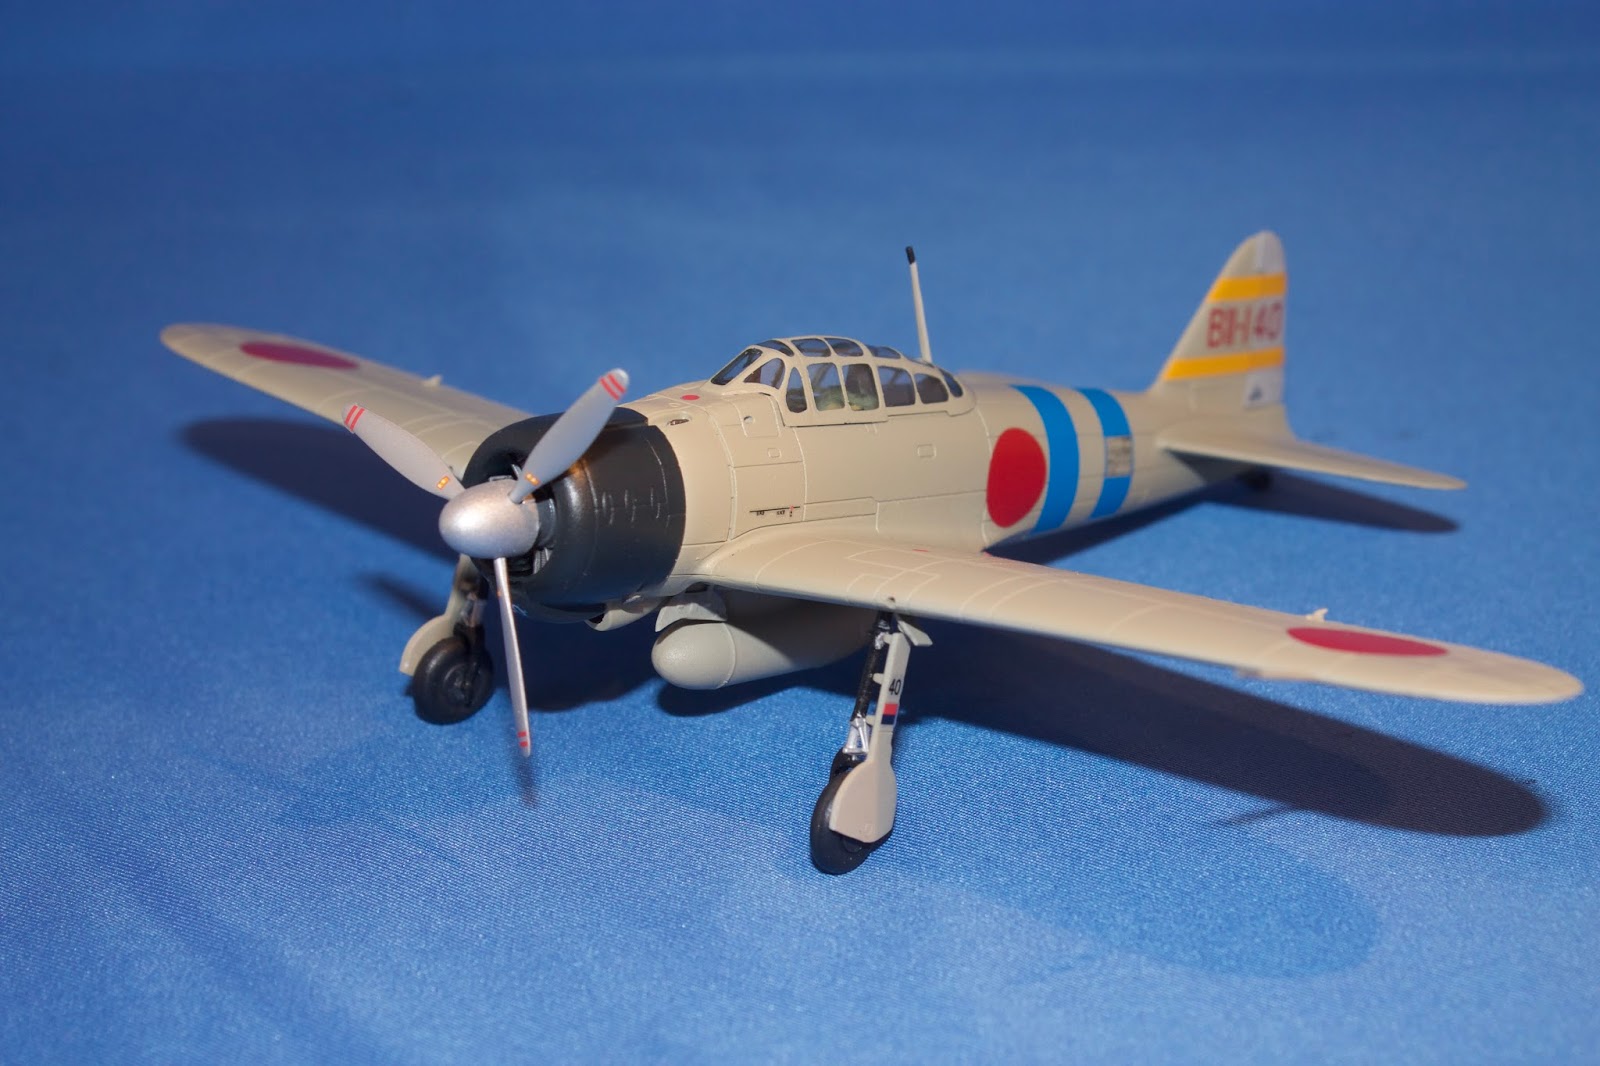
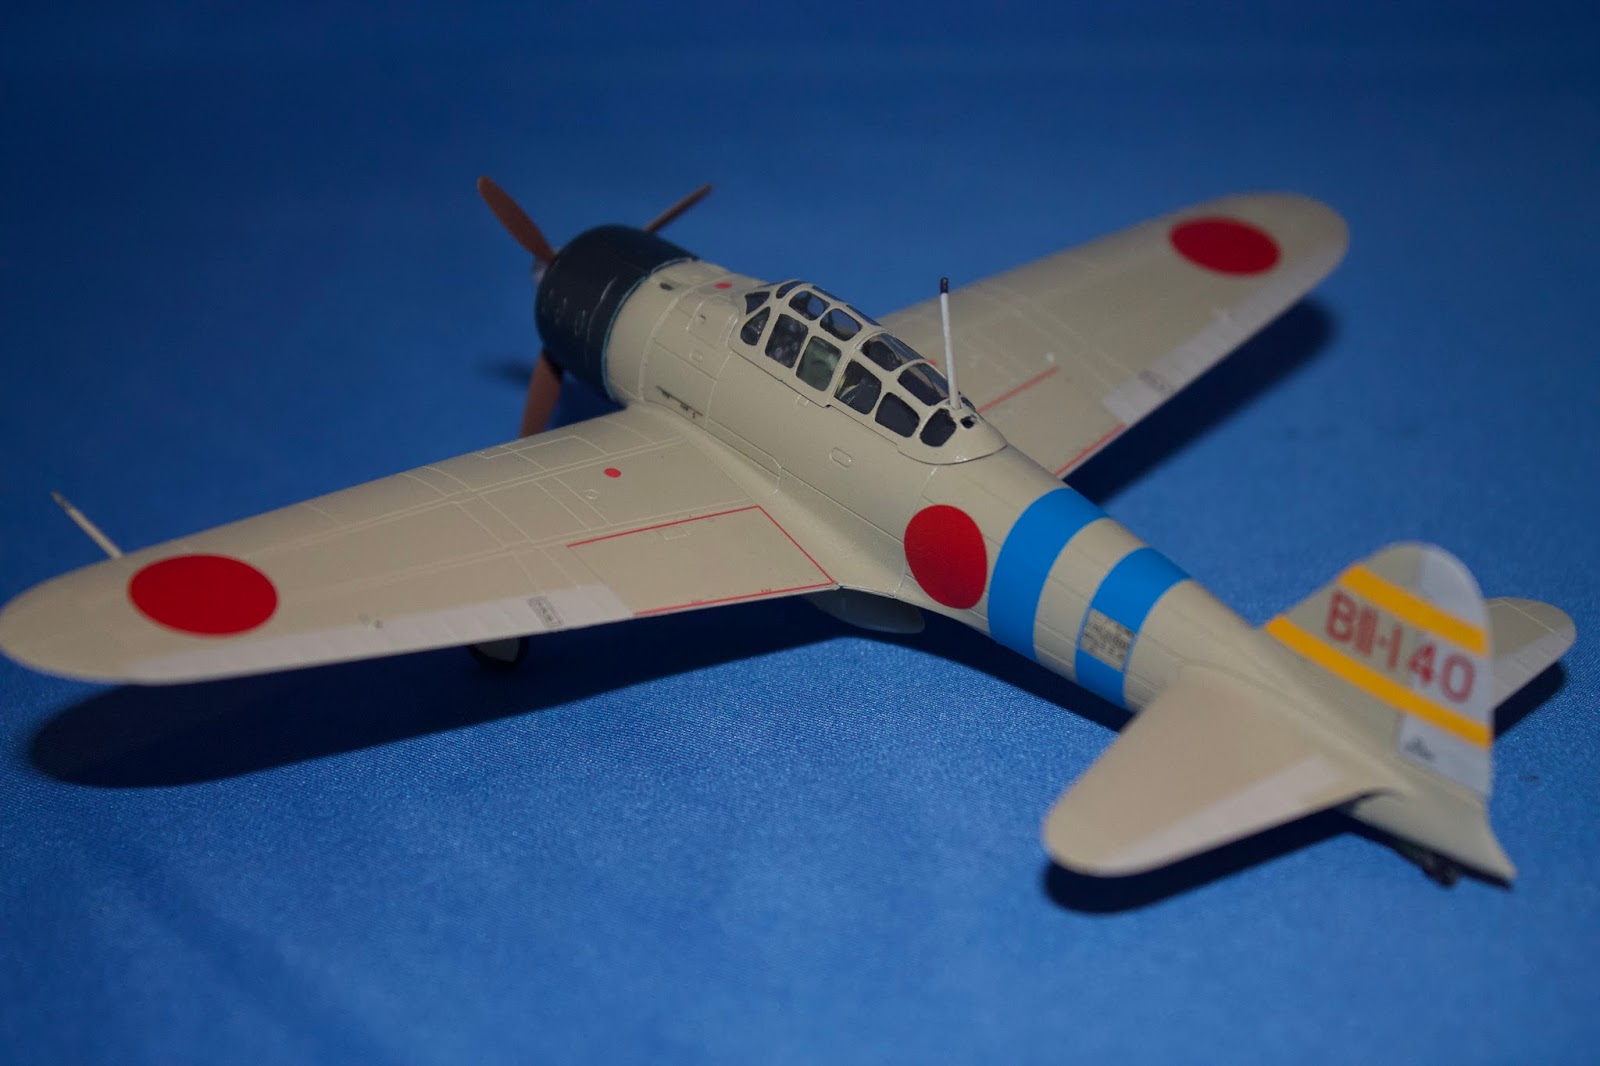
A6M2 Zero, Lt Sumio Nono, Hiryu air wing, 7th December 1941
I finally built this newly tooled A6M from Airfix and used many of Nick Millman’s recommendations for colors just to see how it would look.
The Subject
Lt Nono led the second wave of 9 A6M2 Zero fighter escorts from Hiryu, escorting 18 B5N2 Kate bombers from Shokaku attacking Kaneohe Bay Naval Air Station (now a Marine Corps Base). One Zero was lost against a loss of 2 P-40’s that attempted to engage from Bellows Field.
Lt Nono was later killed in action of Ceylon on 9 April 1942 whilst intercepting Blenheims.
The Model
The basic construction was strictly per the instructions as current Airfix toolings are quite tight in tolerance and build sequence must be followed to ensure the model is finished properly.
Since my model represents a Mitsubishi built A6M2, painting details are unique. The interior of the cockpit, all metal items, should be an interior green; I used Tamiya XF-71. The instrument panel was painted black, and the decal applied. I also added masking tape seat belts. The decking under the canopy was painted the same color as the engine cowling — a blue-black color that was more blue than black. I used Mr Color H77 Tire Black as it is a bluish black. Of note, Nakajima built A6M’s had a cowling color that tended more towards the black end of the scale; so for a Nakajima A6M I’d add black to the H77.
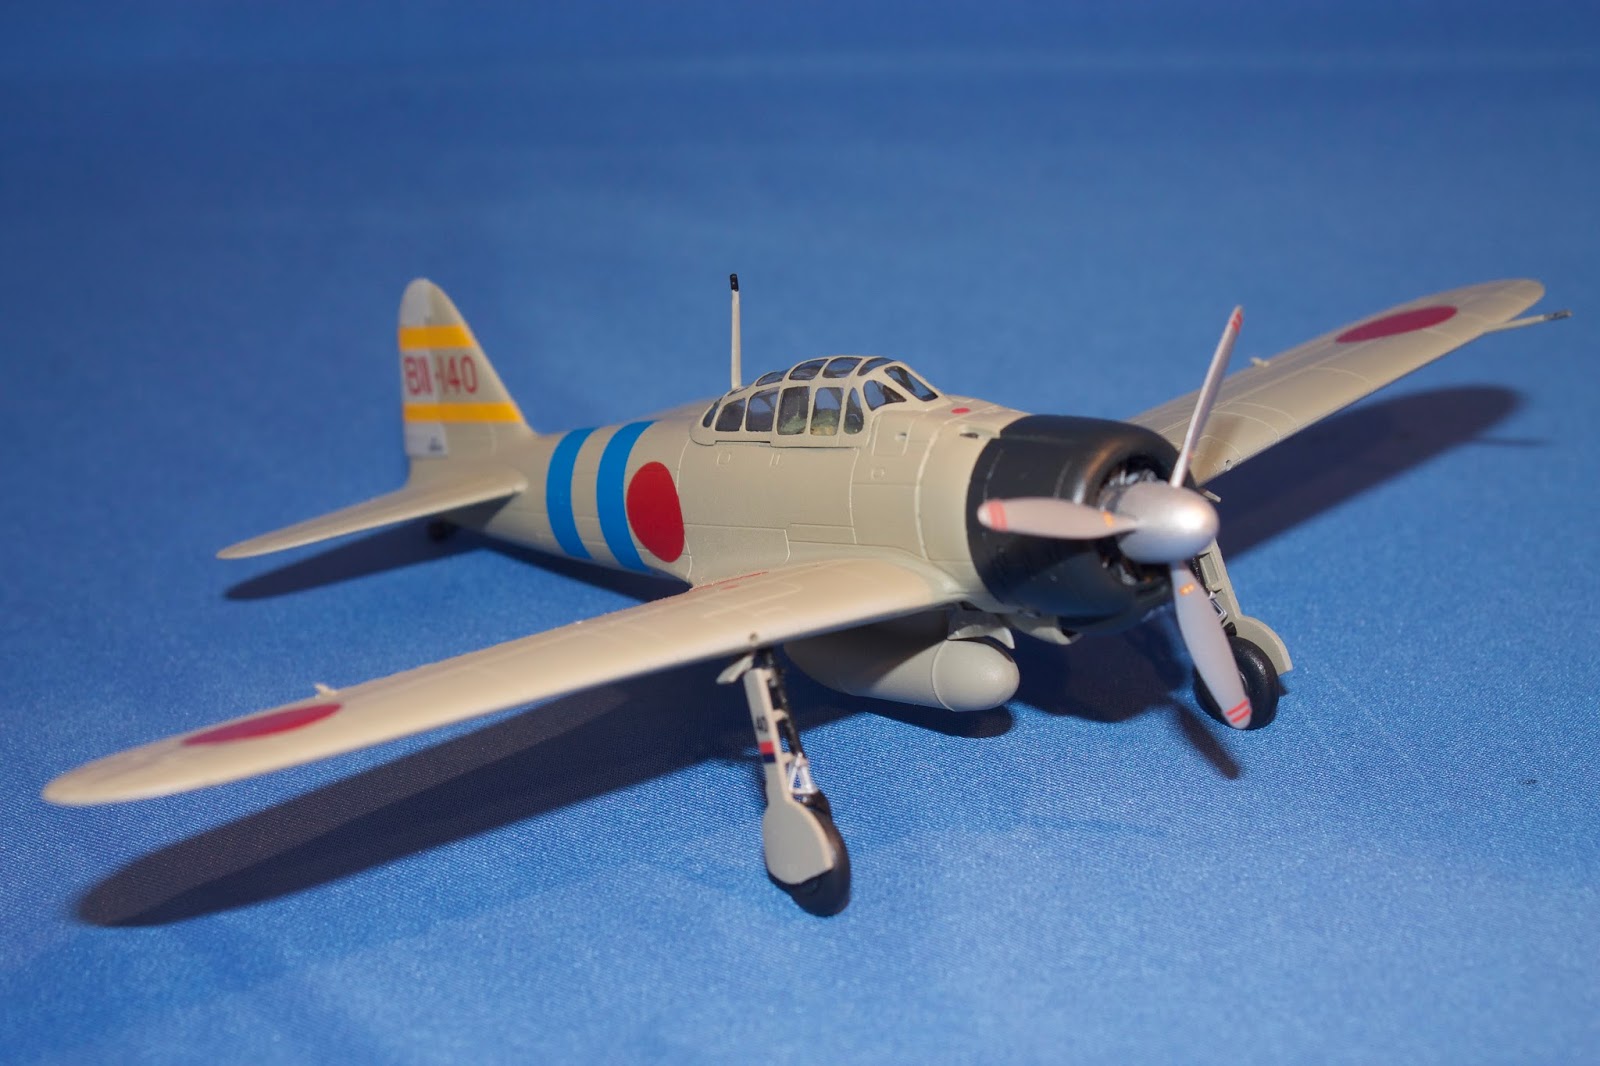
All other interior was painted Aotake, or that blue tinted aluminum primer. I first painted the cowling interior silver, then misted Tamiya X-13 Metallic Blue to just change the appearance. The interior of the wheel bays was the same color as the exterior, which I painted in my own mix of Tamiya paints to achieve the Ameiro or caramel color with a green tinge. The recipe started with Tamiya XF-76 Gray Green, 3 ml, to which I added 2.5 ml of XF-2 White and then 20 drops of XF-64 Red Brown. The drops were a guess, and I mixed until it looked “right”. Your mileage may vary.
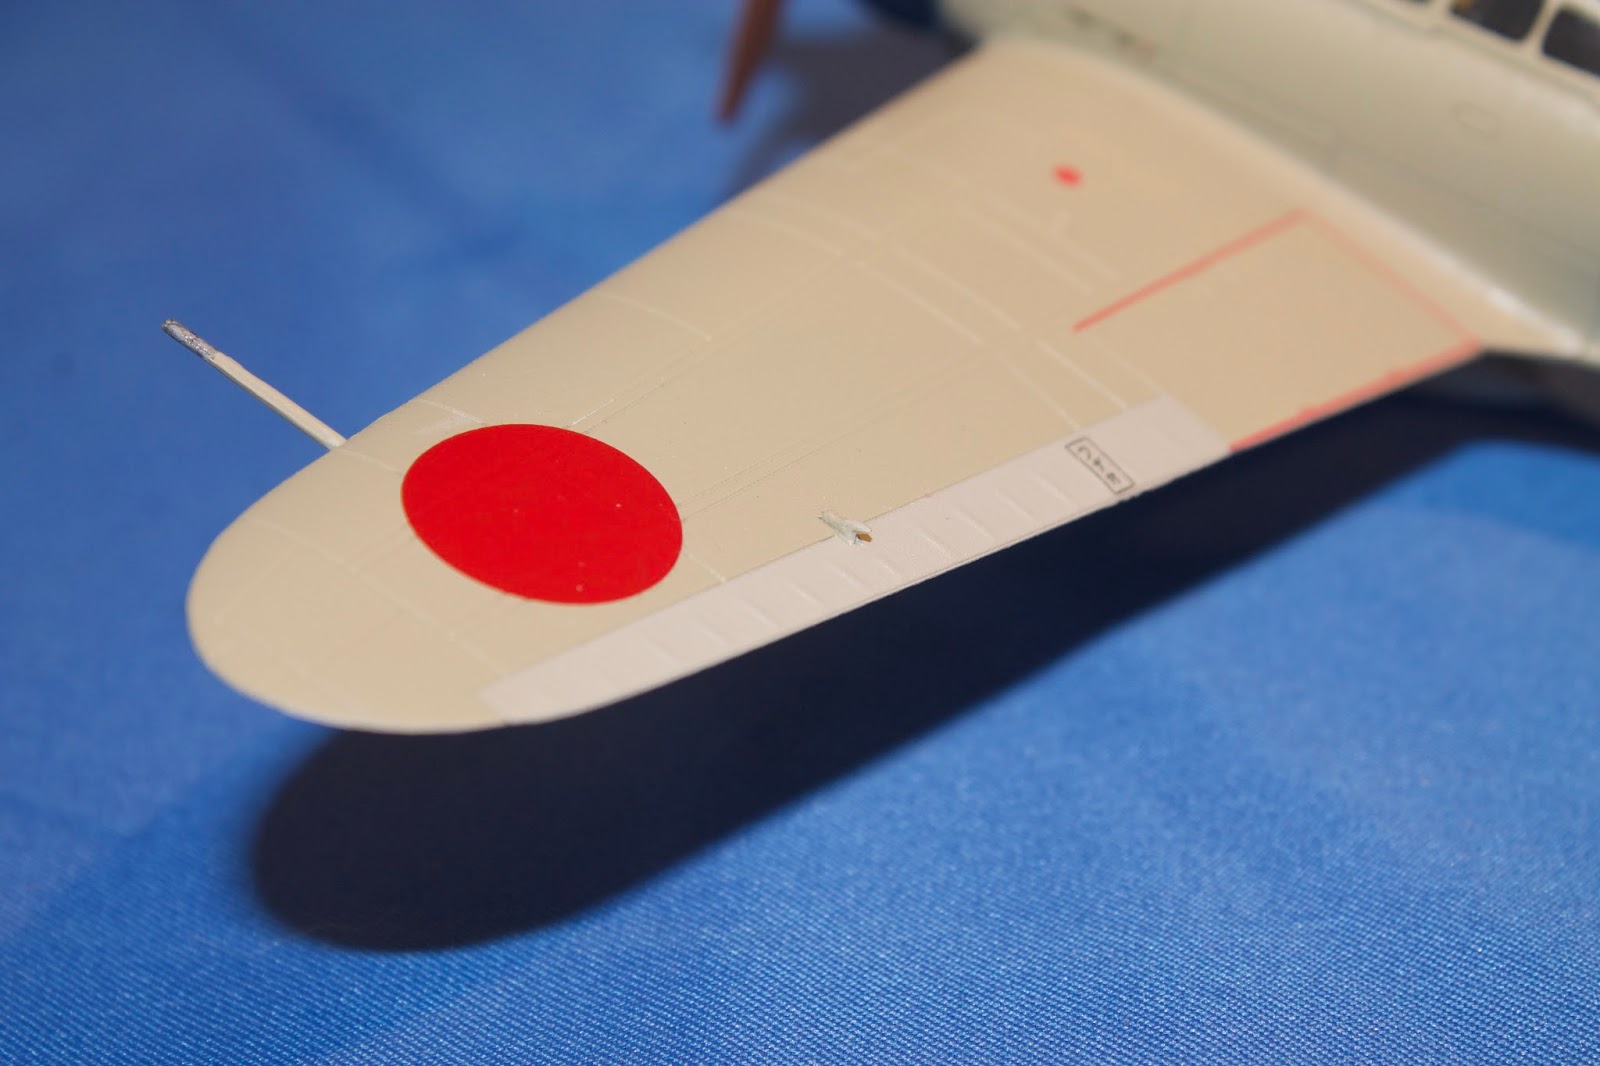
The fabric areas were a slightly different paint, I’m sure meant to be the same color when new but obviously (to me) faded differently. I decided to use a warm gray, and chose MM Acryl Flat Gull Gray #4763 thinned with Future.
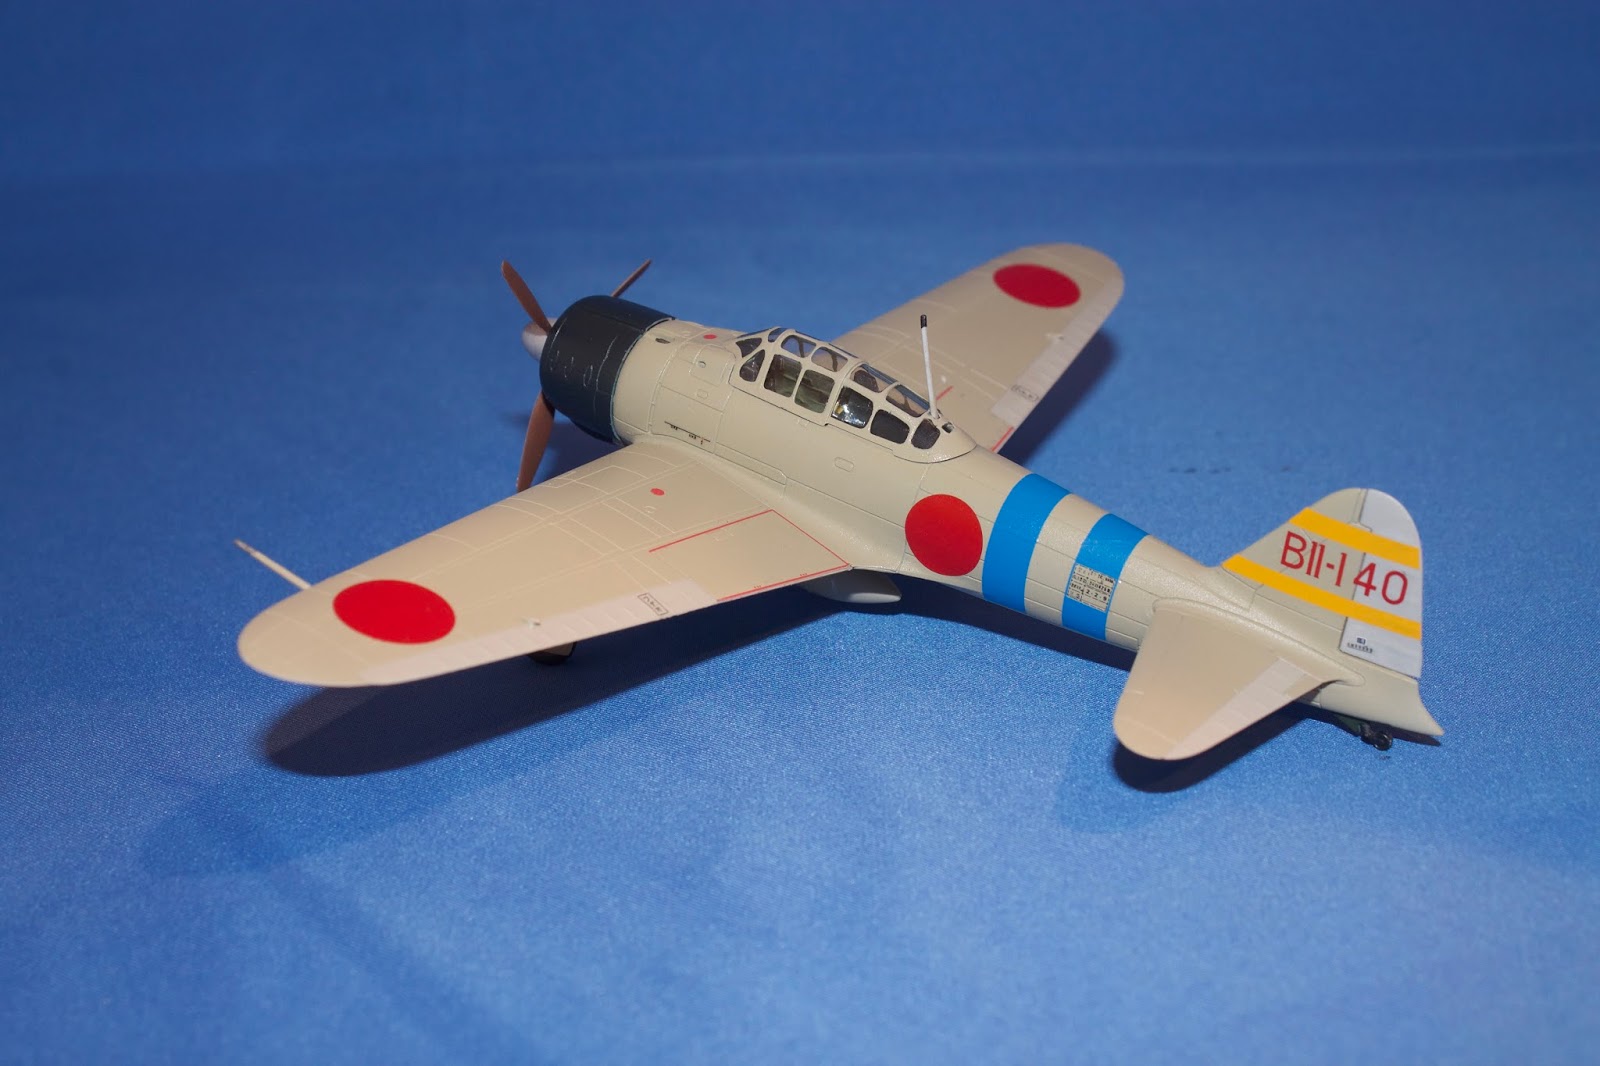
Decals are by Techmod, sheet 72059. They went on just fine, but are thin and require some care. I dipped them in water with a few drops of softener added for just enough time for them to get wet, then quickly slid them into place. I still had one of the fuselage stripes wrinkle on me, but with more setting solution and a cotton bud was able to smooth it out.
Summary
I enjoyed this build immensely. It was quite easy so long as I took care with the build and didn’t rush. My only challenge was alignment of the main landing gear, but I used a drop of Tamiya thin cement and propped the model on the box corner with enough lift and the right angle to ensure it would dry hard overnight.
I’ve got another of these that I plan to make using the kit decals. My other Zeros are the nice Tamiya kits, but I’ve got many, many Hasegawa kits to make as well.
Thanks for looking…