I had been reading about challenges airbrushing Vallejo and came into nearly a hundred bottles of Model Color and Model Air, plus some primers. As I’m always looking for better solutions I decided I’d learn how to airbrush them.
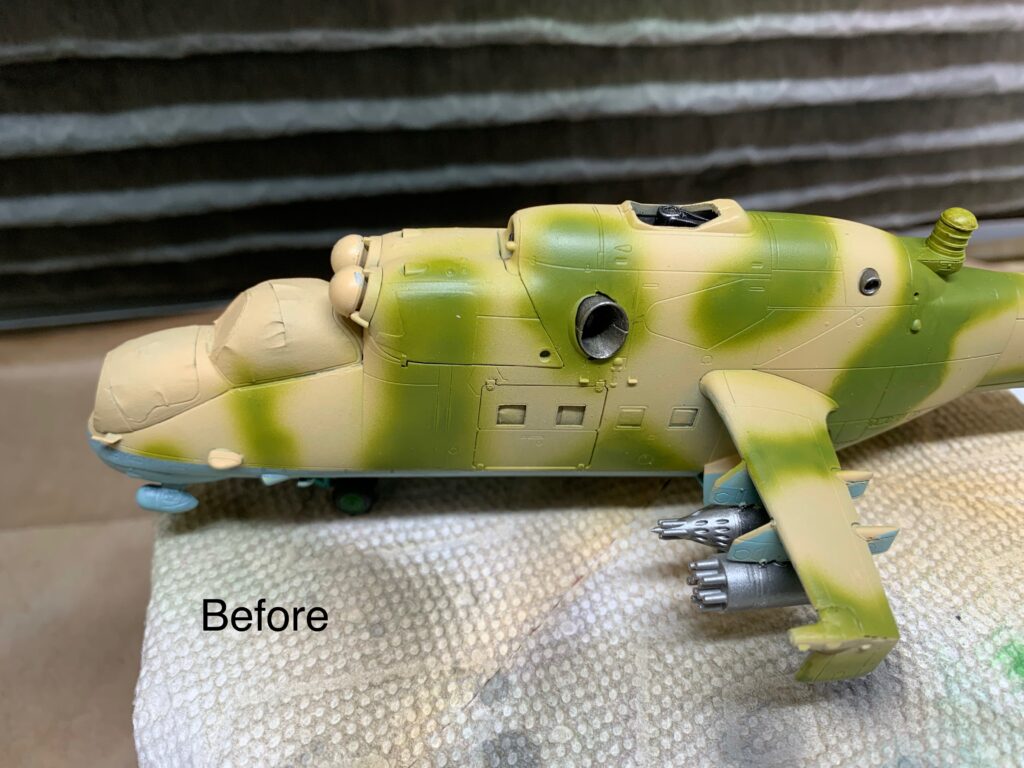
The first thing I did was mix up some paint and airbrush it onto a model. Since I had a Hobby Boss Mi-24v that I’d acquired as a started model (it was going into a bin otherwise and I can always use a test model) I decided to finish it and try Vallejo paints.
The primer went on easily enough just following Vallejo’s guidance — I mixed it 1:1 with Vallejo airbrush thinner and blasted it onto the model at 30 psi using my 0.4 needle. It goes on thickly but then shrank up and looked like a primer.
However…this is not a sanding primer. If your goal is to then polish or sand the finish to make it smoother, this is the wrong primer. When I tried sanding it the primer just peeled up. But ultimately it worked as it “stuck” to the plastic and allowed me to mask it and paint the color coats.
The Light Tan
The light tan color is Vallejo Model Color. Again I thinned with Vallejo Airbrush Thinner 1:4 (paint:thinner) because it’s a thick paint. I thinned it until it had that “skim milk” viscosity. I also added Vallejo retarder. Frankly, it worked, but just. It certainly “stuck” to the primer okay but it did not excite me. As a base, it’ll work.
Later, when I was touching up the Camo pattern I thinned using a combination of Liquitex Slo-Dry and Flo-Aid and it made a huge difference. More on that later.
The Green
This was applied just like the tan and I did not really like the overspray. I tried dialing down the pressure and thinning more but tip dry and spiders, and…it was just a mess.
Getting advice
I searched about on the internet and came across Dr Strangebrush and asked John how he gets Vallejo to work. I won’t publish the long series of emails we traded but at the end of the day, he recommended adding the Liqutex Slo-Dry and Flo-Aid to the Model Air, then thinning that mixture!
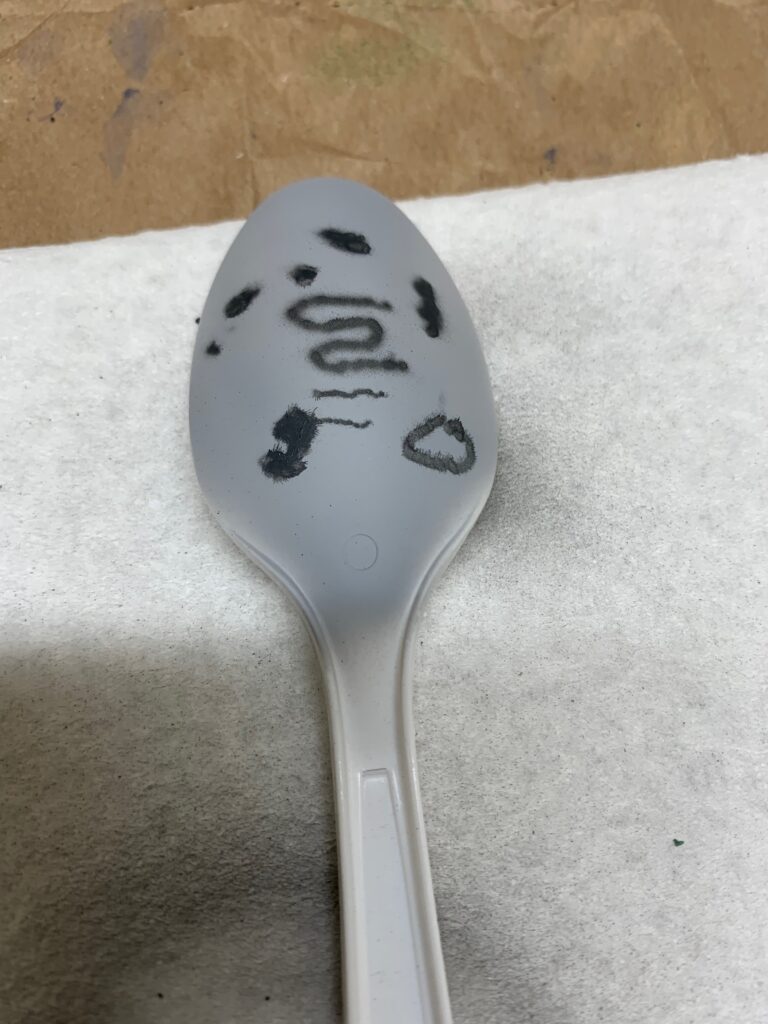
What worked quite well is a ratio of 5:1:1 paint:slo-dri:flo-aid as the paint mixture. This was then thinned to about 7:1 paint:thinner. I was able to get some quite thin lines (albeit on the back of a spoon) but that was my test before the test on the model.
The smudgy stuff was my first attempts and the really thin lines was me testing using a 0.2 needle, 10 psi. I think I could do a smoke ring!
Touching it all up
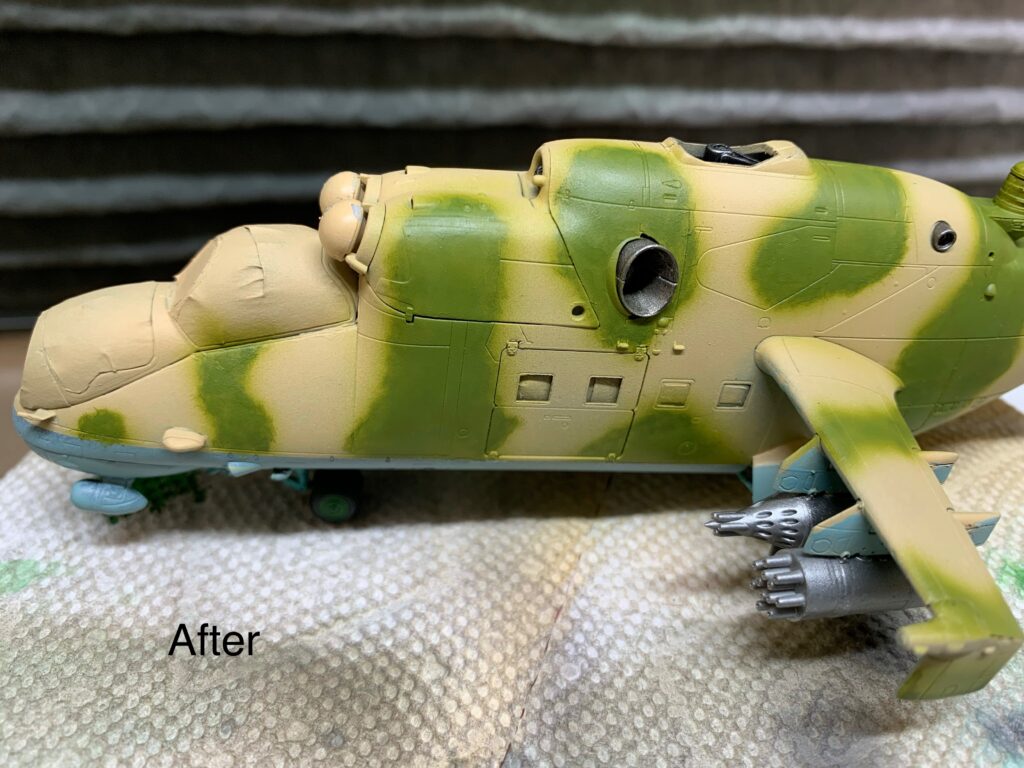
I then mixed up some tan using the new formula and cleaned up the edges to reduce overspray. Not quite there yet but then again this was Model Color, not Model Air.
I then mixed up the green and made an attempt to get the pattern quite tight. I was able to get right in and slowly adjust the camouflage pattern to my liking.
Summary
Vallejo is not my go-to paint for complex patterns. At least not yet. I still find it a bit finicky and the latex nature of it is not friendly when I need to sand it, regardless of the reason why. But…I think I can make it work in some applications and since I have it I do expect to use it on some future projects.