

KP Model S-199 Messer
The Mezek, or Mule, has an important story with Israel’s early history, even though as a combat aircraft its performance was lacking. If making a series of 109s, as I am, this has to be one of the entries.
The Subject
The S-199 is a Czech made Bf-109G-6 but with the Junkers Jumo 211F engine in place of the original Daimler-Benz DB-605. The Jumo 211F was vastly inferior in performance to the DB-605 and the resulting aircraft also suffered terribly in performance. The Czech pilots referred to it as the Mule just for that reason.
When Israel began putting together an Air Force, they pretty much were willing to take anything. Through some clandestine horse-trading, the nascent Heyl Ha’Avir (Air Force) received the aircraft from Czechoslovakia in 1947 where they were referred to as the “Messer”.
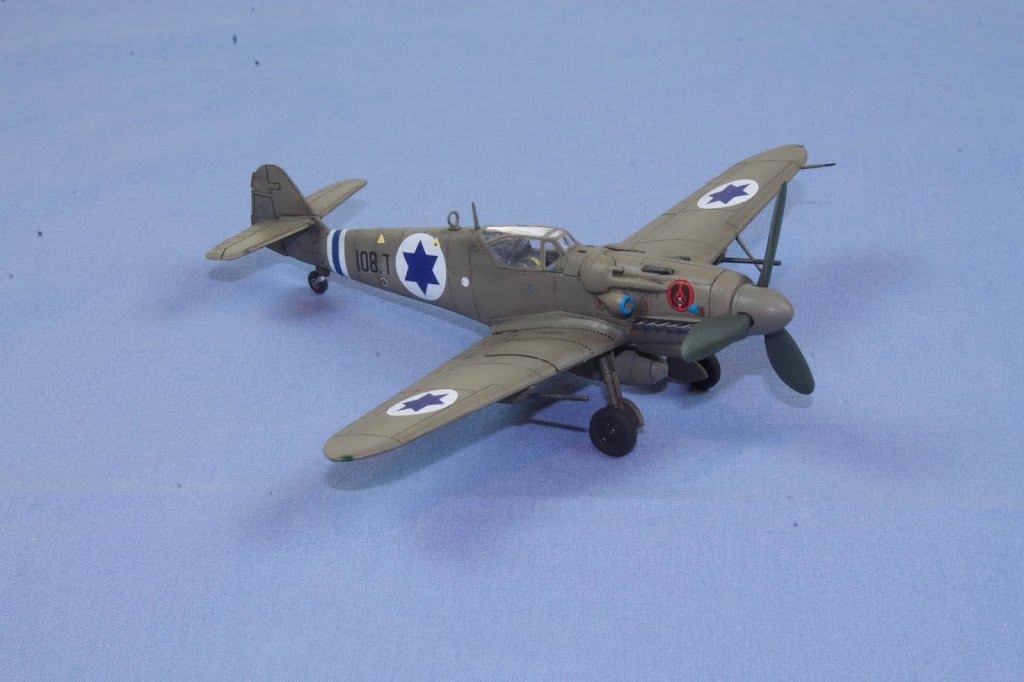
D-108 is representative of the initial 25 delivered in May 1948 and used in the Summer of 1948 as part of their initial independence.
The Model
There isn’t much to say about this kit. It was a fairly easy to build and frankly if there are errors in the kit I don’t have references for the S-199 that would tell me what those errors might be. Yes, I could spend a few days on the web reading about all the issues, or I could just build the model. That’s frankly all I did with this one.
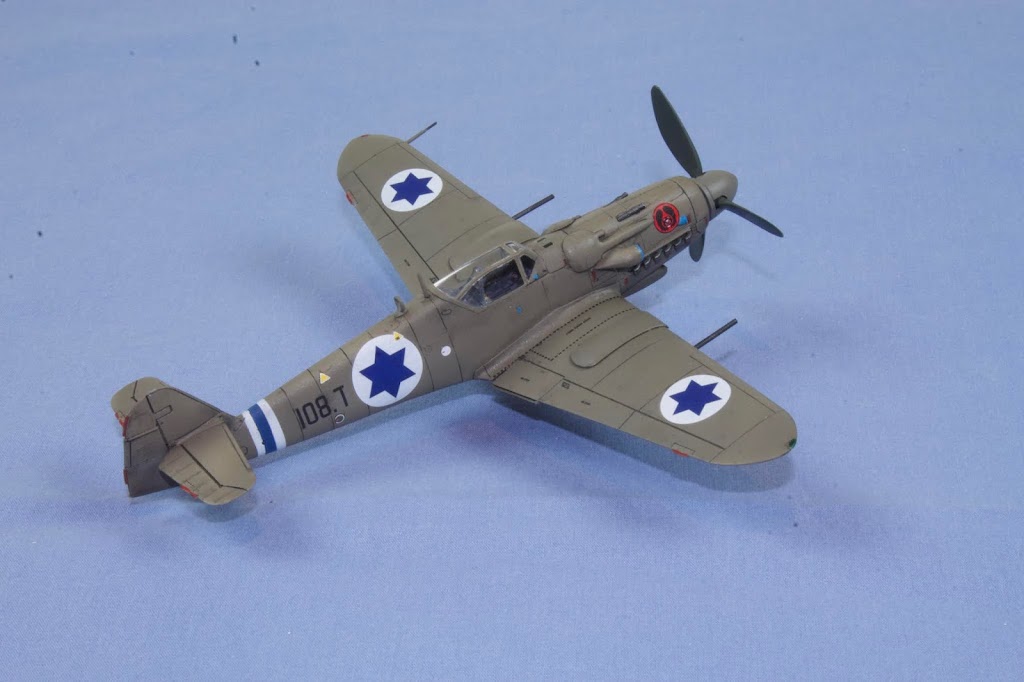
This was build straight from the box. No added anything, even the decals are from the kit. I had zero issues with construction, just the usual “treat it like a limited run kit” approach and it all came together nicely. Filler was limited to the usual suspects — wing root and horizontal stabs. I applied some Perfect Plastic Putty, let it partially set, then wiped with a damp (not wet) cotton bud to smooth out the putty and remove the excess. Yes, it shrinks a bit but there is a seam there so while it fills the minor gap it leaves the appearance of a seam which is an effect I do appreciate.
The decals were a dream to apply. They went down easily with some solvent and with zero silvering. Even the fuselage stripe aligned well, almost like it was designed for the kit.
I decided to do a modicum of weathering. It was at about this time when I was progressing that I decided I needed to add weathering back to my modeling if I want to raise the appearance to the next level. There are quite a few models at the shows that just look that much better with just a tiny bit of weathering. So I decided that I’d start with some panel line wash and nothing more on this one. It came out okay but the overall appearance did darken up, which I did expect, just not to the degree I got. It did not clean up so I learned a second thing: use washes I can clean up if I don’t like the outcome.
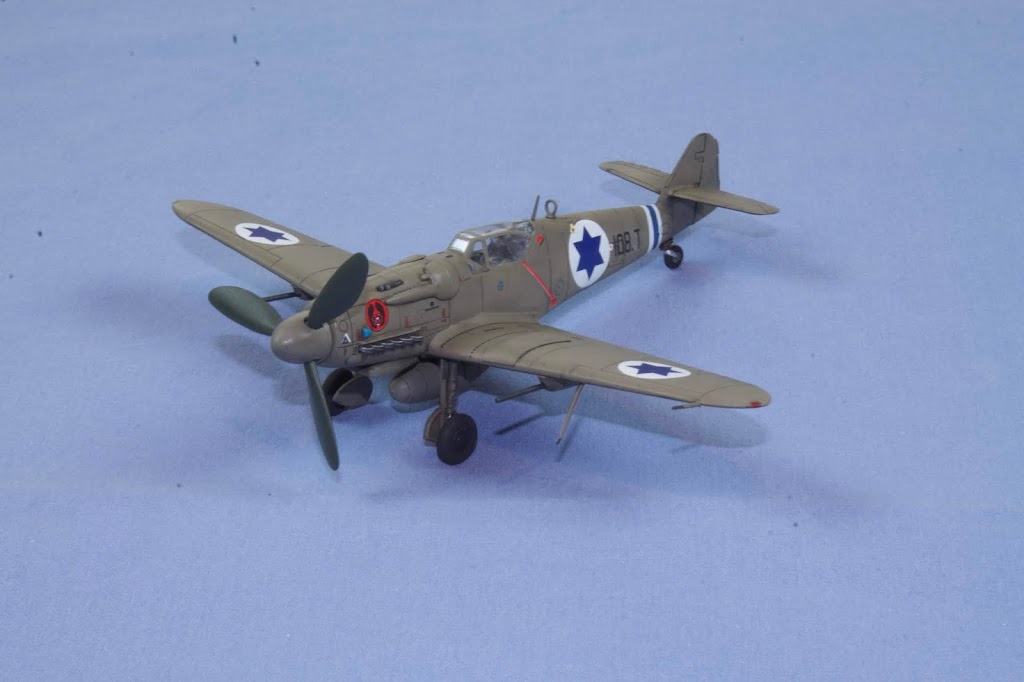
Summary
This was a relatively easy build, and very enjoyable. Being a single color helped with ease of modeling but forced me to add some weathering in the form of a simple wash. That helped quite a bit, but learning some new things helped more.