
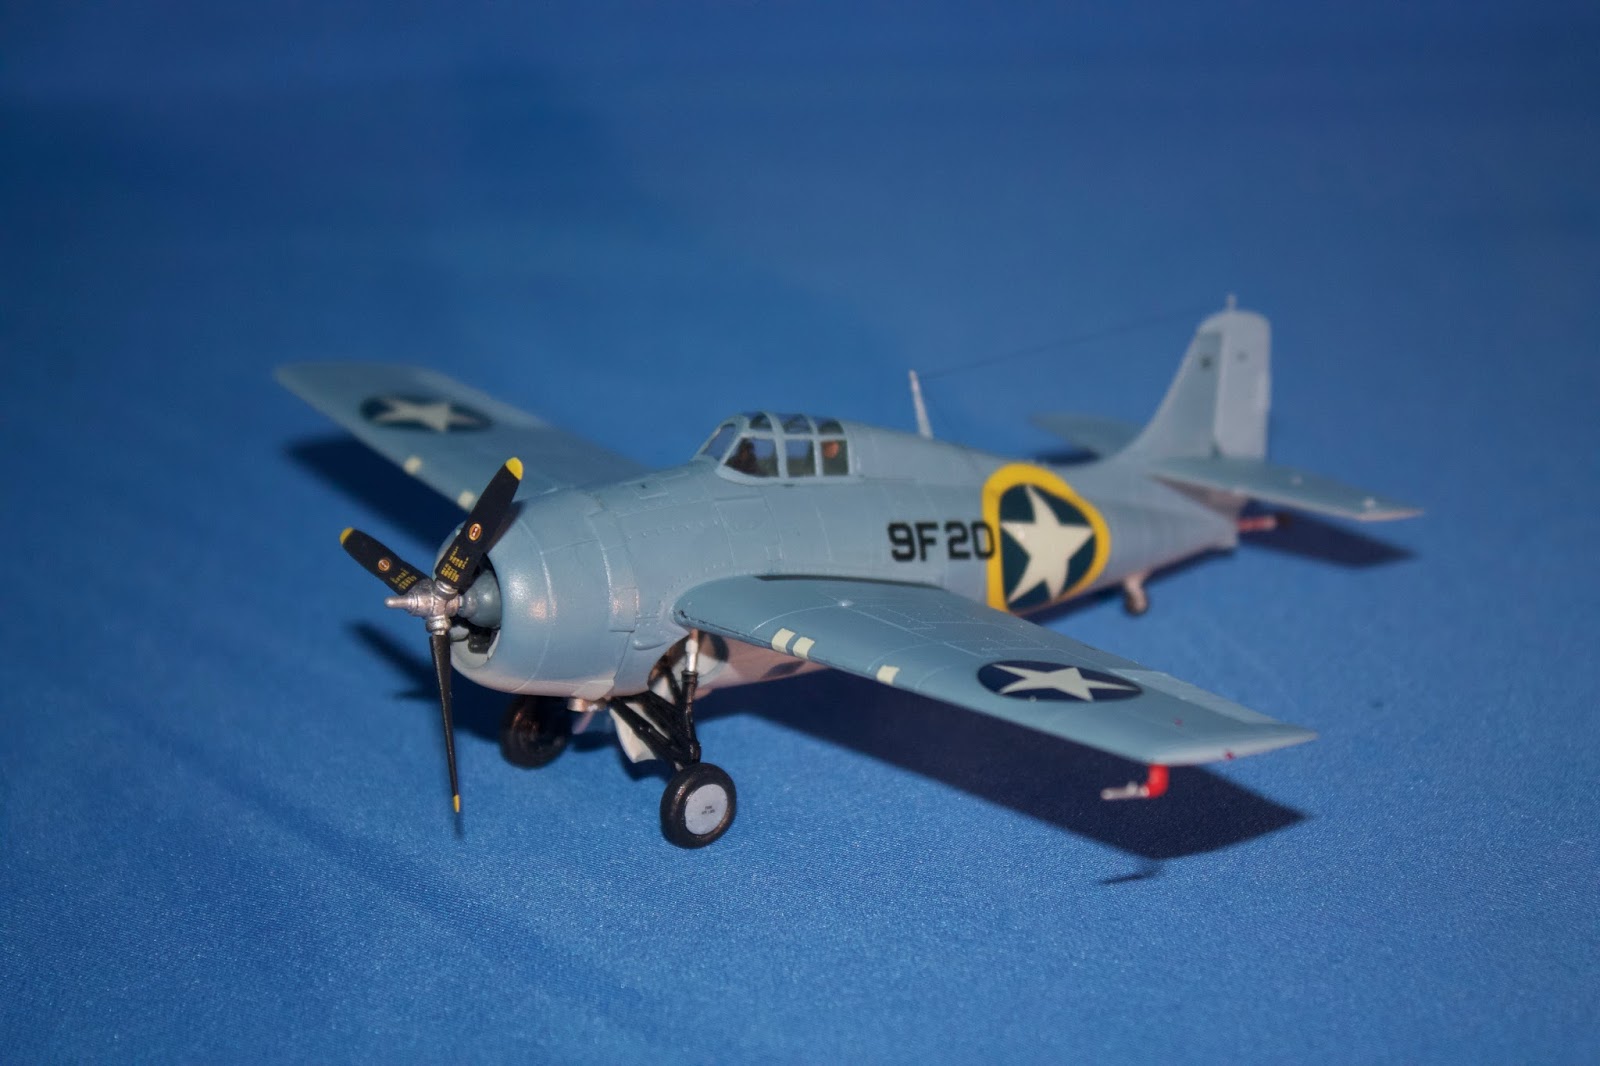
Grumman F4F-4, 9-F-20, VF-9, Operation TORCH November 1942
This is an enjoyable build that allowed me to try a couple of new techniques. Feathering (aka free handed airbrushing) and tonal variation using simply gloss, satin and matte finishes.
The Subject
VF-9 was created in March 1942 and quickly given Wildcats before she deployed on RANGER (CV-4) to the European Theater. Some histories indicate she had F4F-3 (non-folding variant) but photos clearly show she had the -4 variant with the yellow surround. They provided fighter cover for the TORCH landings until USAAF and RAF aircraft could be landed.
The Model
This is the 2015 tooling of the Airfix F4F-4 Wildcat. It was a very easy build and I enjoyed it immensely.

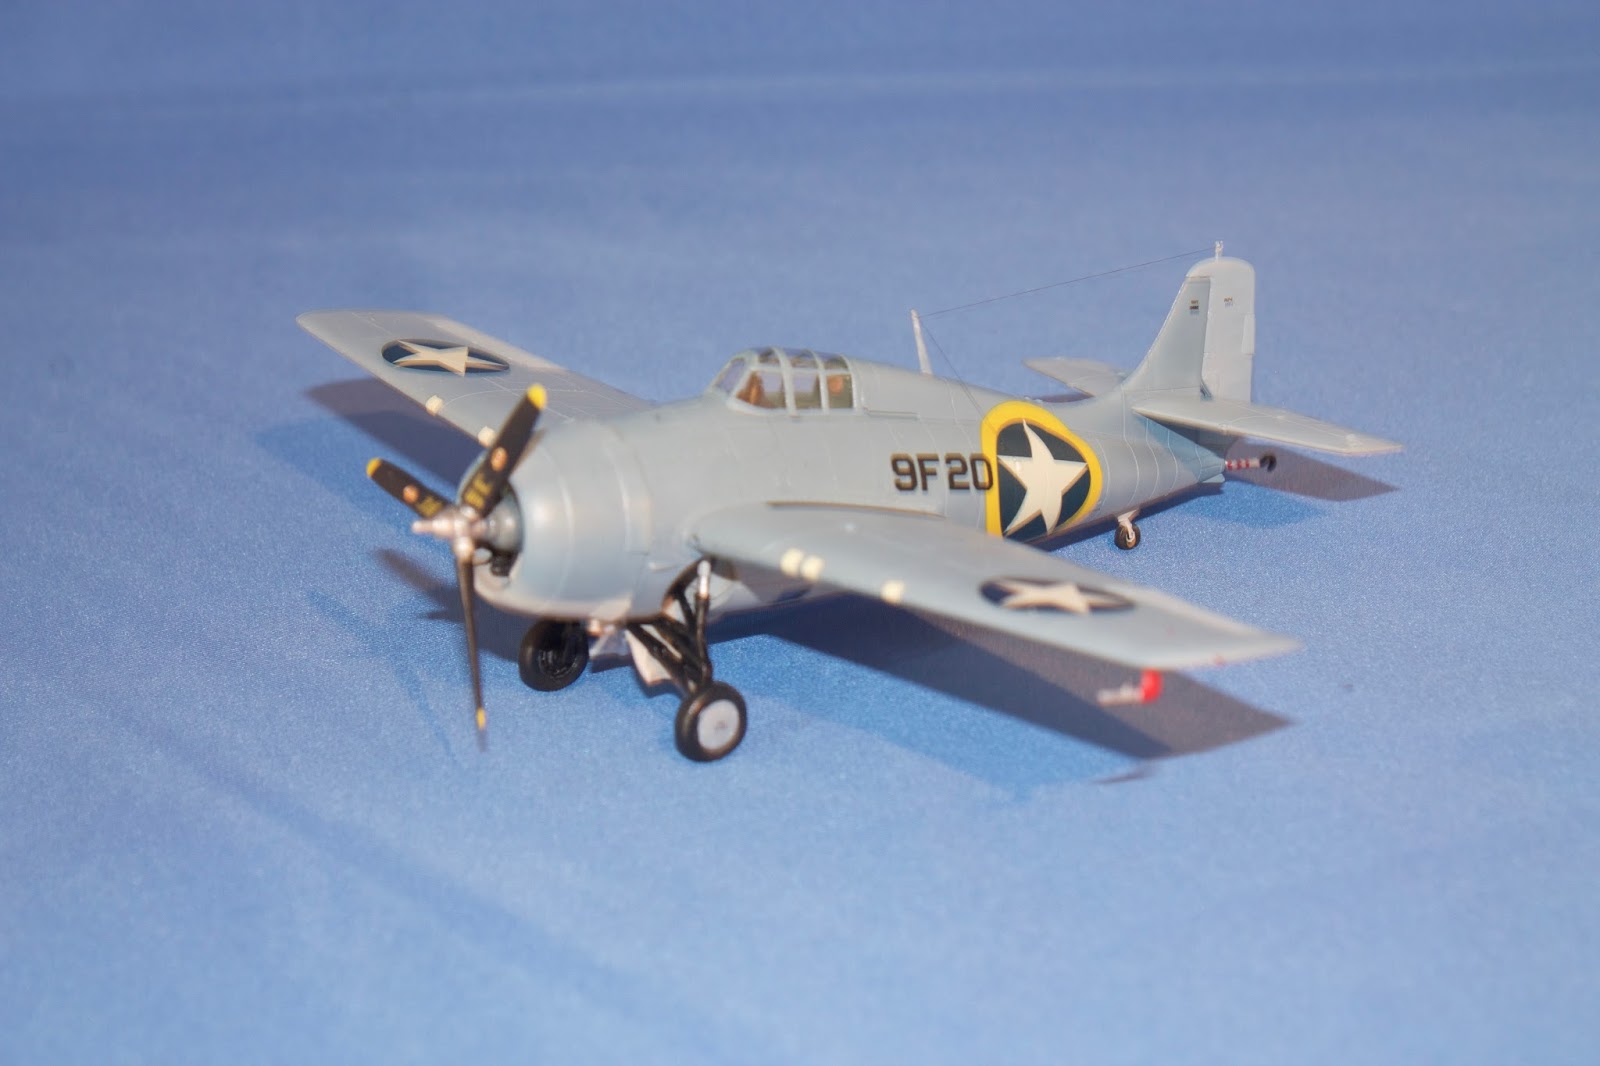
I goofed and decided to install the landing gear after putting the fuselage together and painting it. Don’t do that! Follow the instructions step-by-step or things don’t work out so well.
My objective was to paint the Non-specular Light Gray undersides, then spray the Non-specular Blue-Gray in a nice tight pattern without masking and without having to work around the already painted and installed landing gear. So I left it out thinking it would fit in post-painting. No, no and no. The painting went just fine, but when I tried to install the landing gear it just didn’t work…er, fit. Since I have two more of this kit in my stash, I pulled one off the shelf and cannibalized the landing gear.
Now the really hard part (all due to my own goofiness). I proceeded to build the landing gear assembly inside the wheel well, versus outside and then just gluing to the firewall. That would have been so much easier, and of course I’m a step ahead on my next one!

Painting was quite simple. I used Model Master Acryl for all paints, except the Aluminum, Black and Tires. Those were Tamiya.
I left off the control surfaces, since I could, until the end. By doing that I was able to leave them unglossed for the decals. I glossed the model using Future and then applied the Hasegawa decals for VF-9. I used these simply because I had them and didn’t have any other Wildcat at TORCH decals. That’s when my next set of problems began…
When I applied Daco soft decal softener, they crinkled up as expected…then hardened like that! No settling down for these decals. So I tried another decal with Micro-sol and it worked better. Not perfect, just better. At least I was able to get the decal to lay down with some coaxing from a cotton bud.
After the first set of decals were down, I decided to carefully sand away the crinkled ones (the two cocardes on the wing upper side) and luckily I have a second Hasegawa kit with the same decal sheet. So I reapplied and aligned them to cover the damage done by sanding away the first decal. Whew! Another modeling challenge solved.
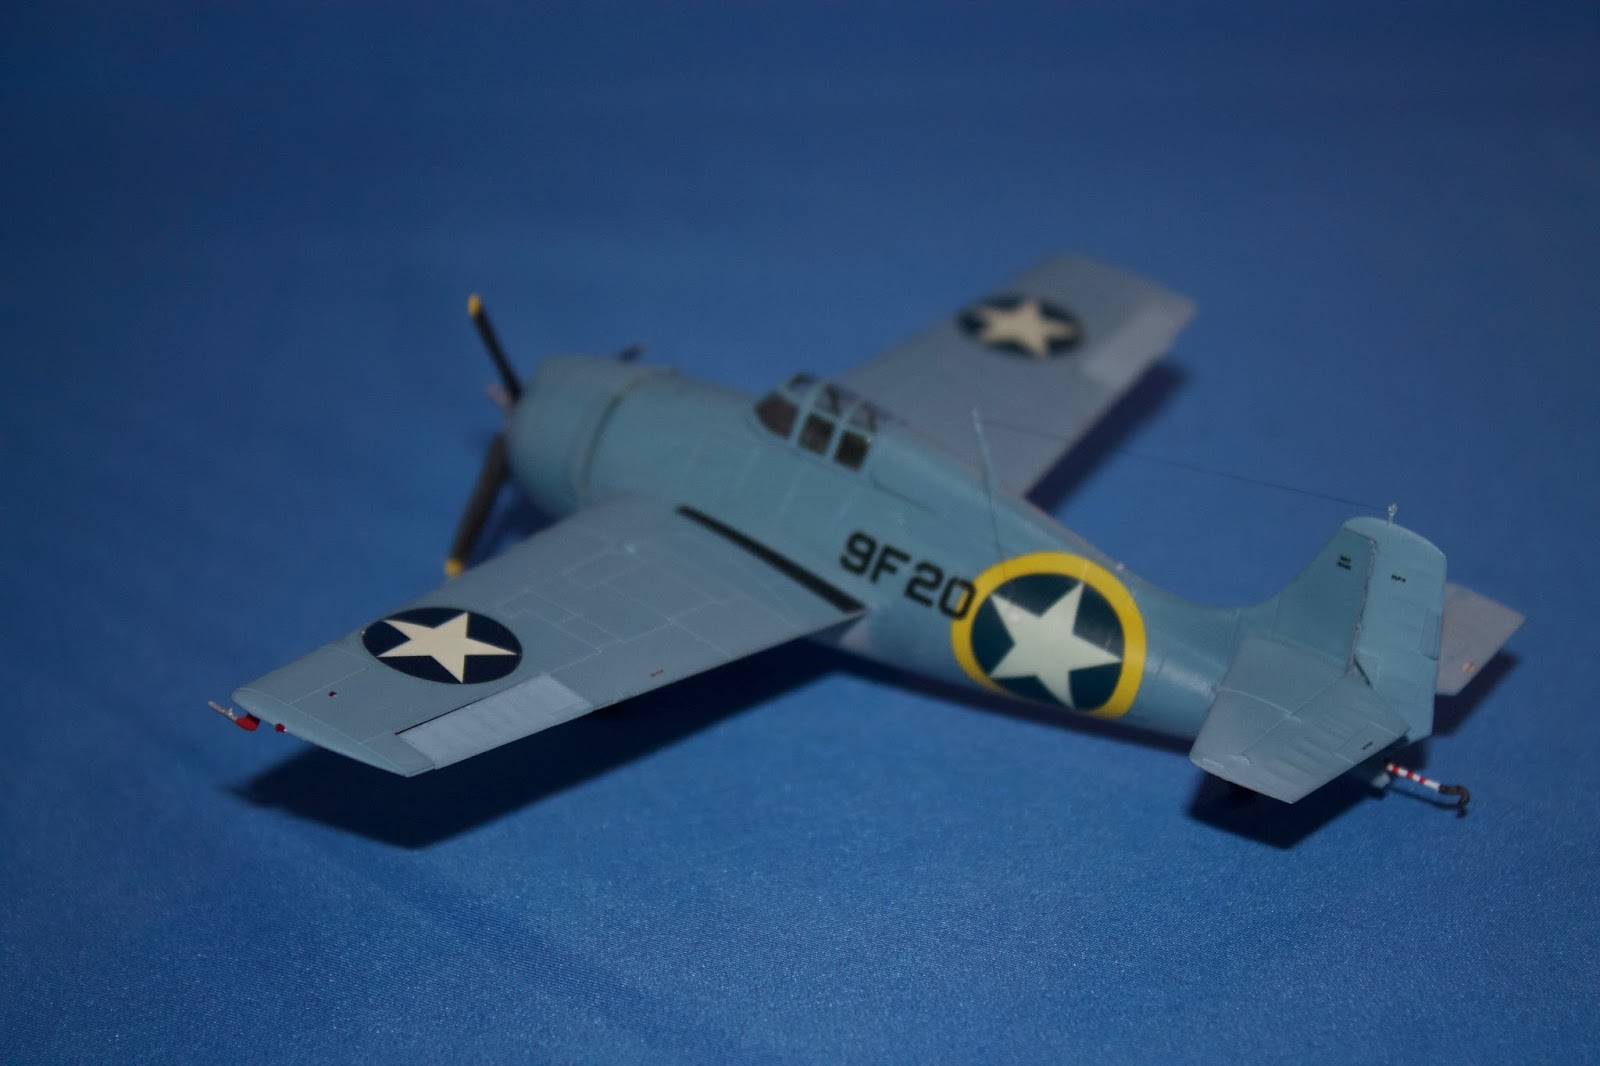
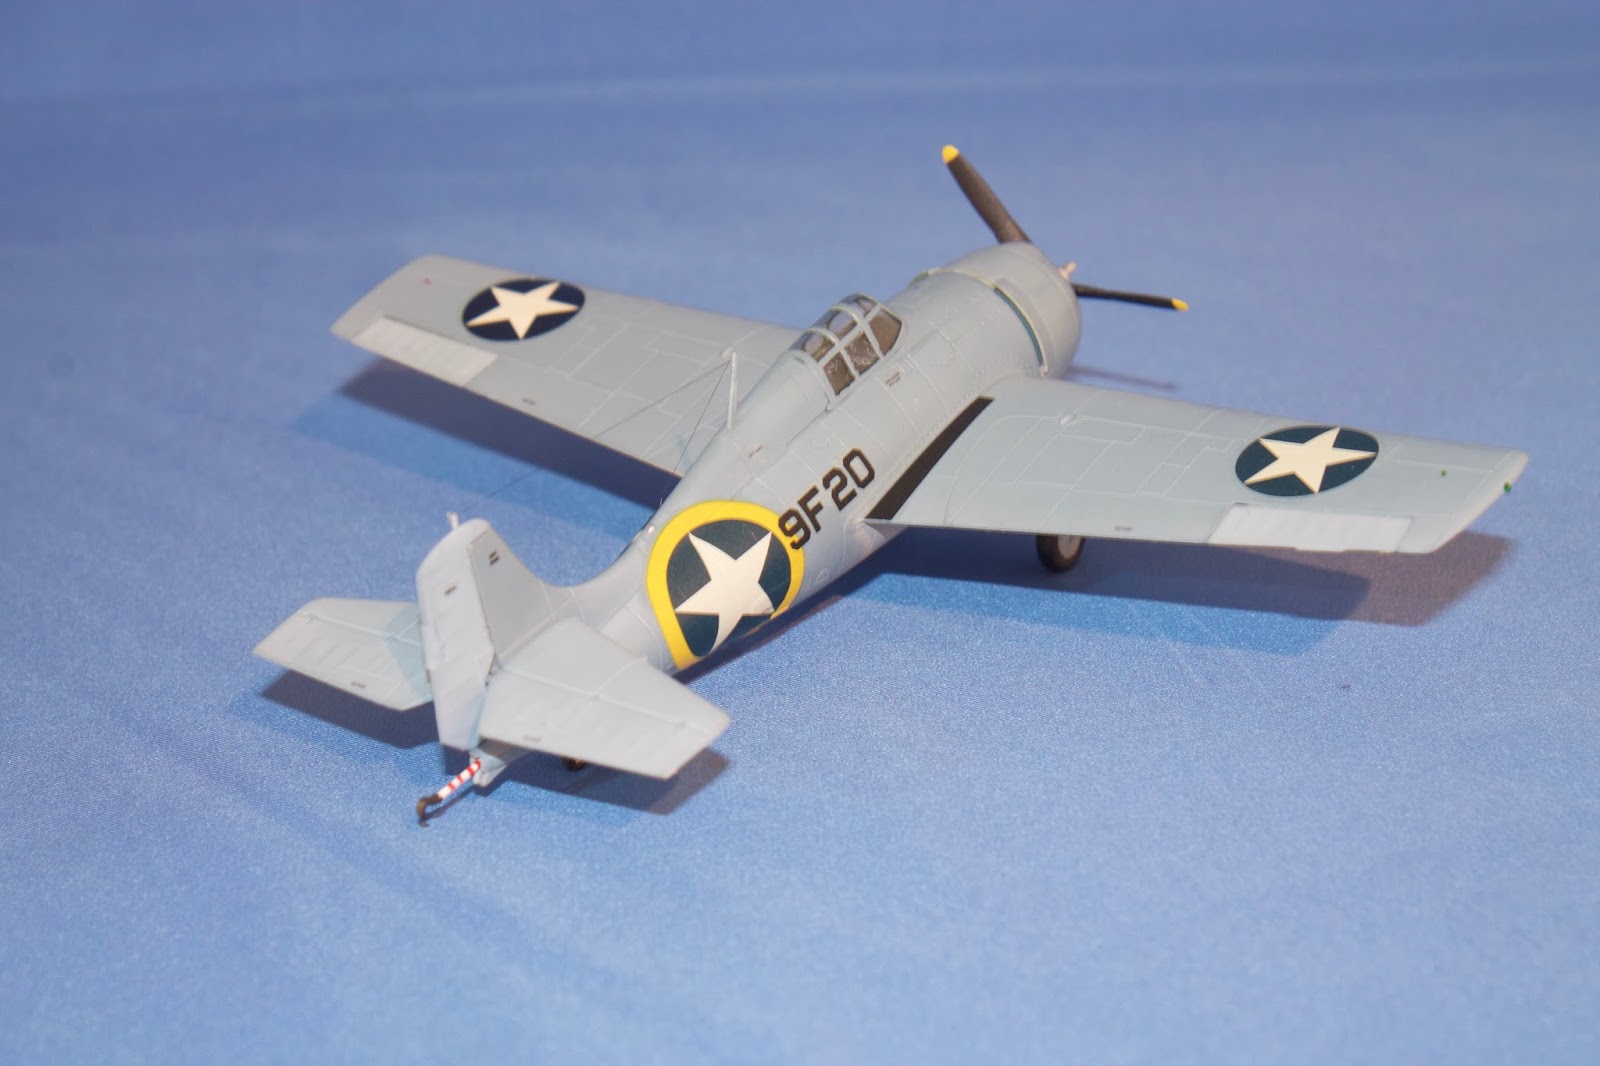
I then coated the model with a satin coat to knock down the gloss and seal the decals. The control surfaces were left flat/matte and gave a nice faded contrast, which was a natural look on this scheme due to differential fading of the paints on the fabric versus metal.
No weathering, Navy aircraft are well maintained at sea to ensure they don’t corrode.
Summary
Lots of positive reviews of this kit, and some detractors as well. The spine is slightly shallow, and if one compares it to the Hasegawa F4F-4 kit, which was the standard for decades, it’s obvious. However the Hasegawa spine is bit too high, accentuating the difference; both kits being equal in the “error” but in the opposite directions. Oh well, this Airfix kit is much better detailed and I like the look. Having said that, I won’t be getting rid of my Hasegawa kits as they are nice builds also.
With two more I expect to build one as a USMC bird on Guadalcanal, and the other…well there are a few other schemes out there for the -4.
Thanks for looking…