
Fillers
I decided that I’d use this batch build of 5 Heller Spitfire XVI kits to test a few new (to me) techniques. First up is fillers. I have my tried and true 3M Bondo red filler in a squeeze tube however it’s smelly and while I still have half a tube remaining, I’ve read online the formula has changed, making it less compatible with our hobby. So, armed with the knowledge that my life’s supply of Bondo may need replacing I decided to make a few comparisons.
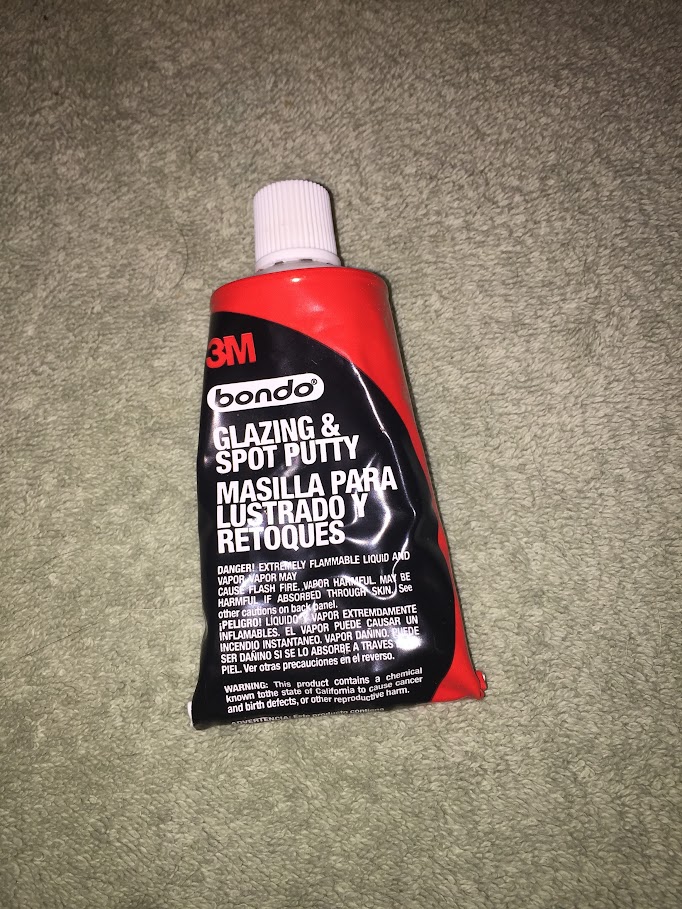
3M Bondo
I’ve been using this for years, and frankly I’m comfortable with it. Yes, it does shrink a bit and it seems I can never quite hide it through polishing and primer. But I’ve otherwise been happy enough with it. I’ve thinned it using Tenax liquid glue to make it easier to fill trenches some kits seem to have, and hopefully to have a more feathered edge when polishing it on those darned seams the older kits always seem to get. It still has a place on my modeling bench so I won’t go throwing it out, but I hope some of these other fillers work better.
Squadron Green / White Stuff
I recently threw these tubes out when I realized I went for my 3M Bondo instead. The White had dried out anyway…but both were about the same as 3M Bondo however they tended to dry too quickly as I was working it into seams or laying it down with my putty knife. Not something I’d recommend today to a new modeler looking to start using fillers.
Humbrol Filler
While in the UK this was my filler simply because I could get it. Everything at the local hardware store wasn’t quite right. Better than Squadron’s fillers but not as good as 3M Bondo. Works the same as both and while I was certainly able to make it work, I still prefer 3M Bondo over it.
Sprue + Liquid Glue
What to do with all that old sprue? Well there is stretching it and making wires, or shaping it into bomb racks, or other things. But ultimately there is still a lot of sprue left over from most kits. Online some folks swear by this, so I took some of the sprue and dropped it into a half full liquid glue bottle I had from a visit to Pusan back in 1992. After about 48 hours it was a thick goo. I slathered a bit on a seam on the upper nose and let it set. This is different than 3M Bondo to work with, it was a bit more liquid and after the 24 hours I gave it to fully cure, it was rock hard like the original plastic. That’s a good sign!
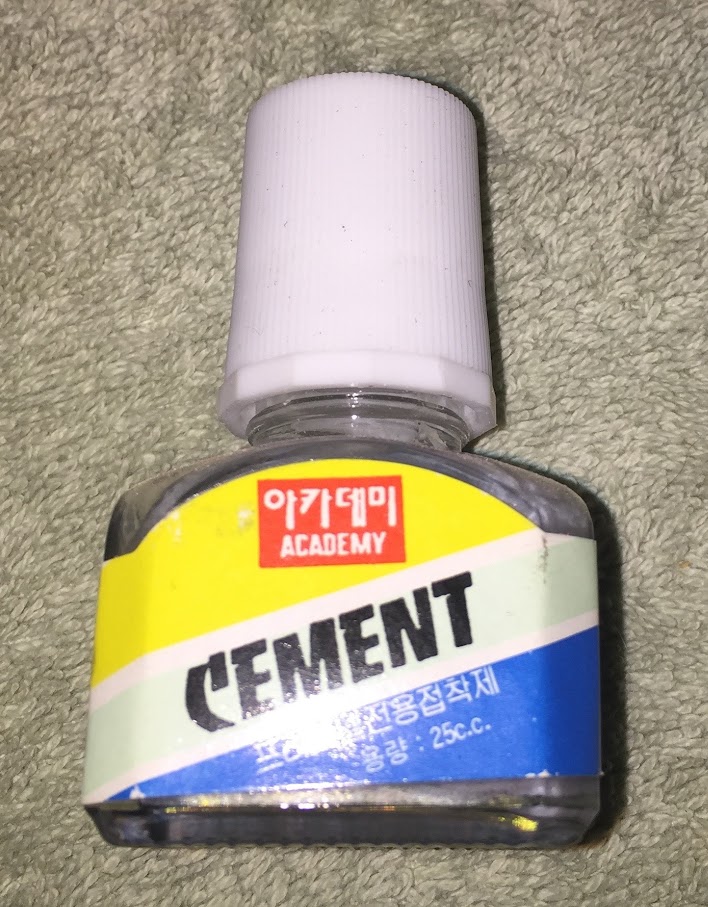
So I started sanding and feathering and this is where things started to go south. It actually peels up along the edges and doesn’t feather. I suspect it has to do with the glue and sprue mixture, as the glue is a liquid Korean glue with no English. I’ll have to try this again on a future kit when I’ve got a better (read locally procured and “new”-ish) liquid glue to use. I repaired the seam using my next filler option…
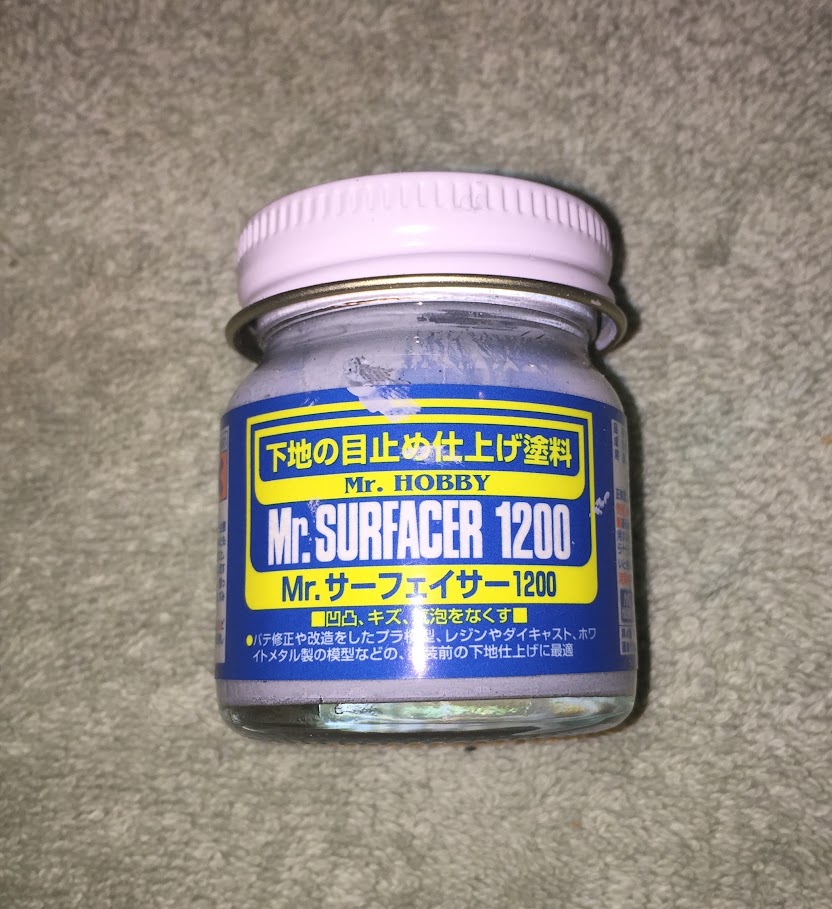
Mr Surfacer sanding filler 500 and 1200
I bought this about the same time as the Korean glue (I was stationed in Japan at the time) and by now it’s a bit thick, but still workable. I scooped out a pea sized glob into a plastic bottle lid (these make great mixing and painting pallets, OBTW) and added some Tamiya X-20A thinner, just a drop really. It quickly thinned into a nice workable mixture, so I applied it on the plastic filler and then let it flow a bit. After a 24 hour cure time I started sanding and the cowling was very smooth, with no seams. I then polished with ever finer sanding sticks until it had a shine. It’s been a long time since I’ve been able to do that!
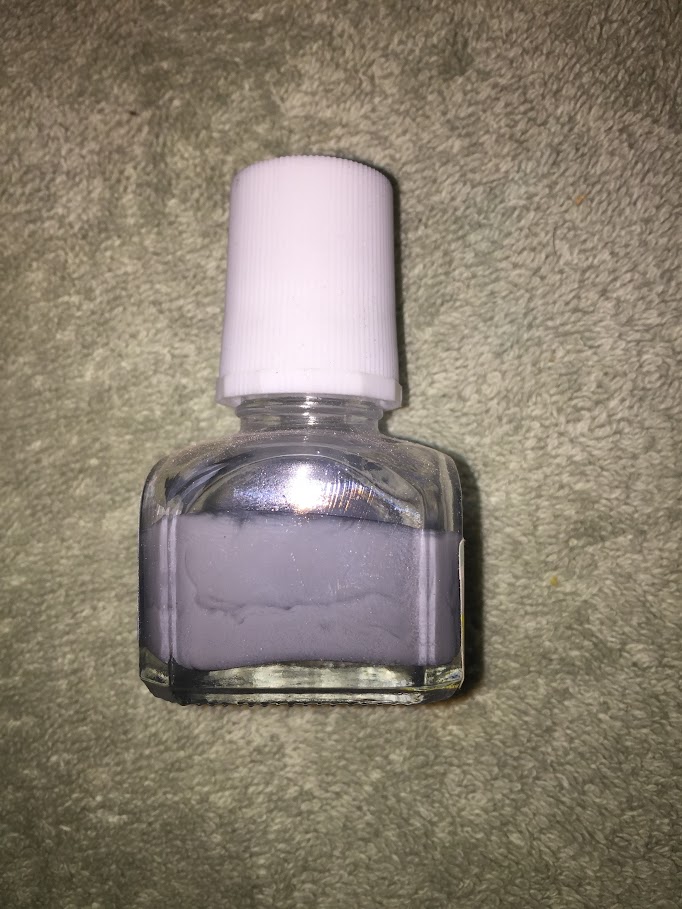
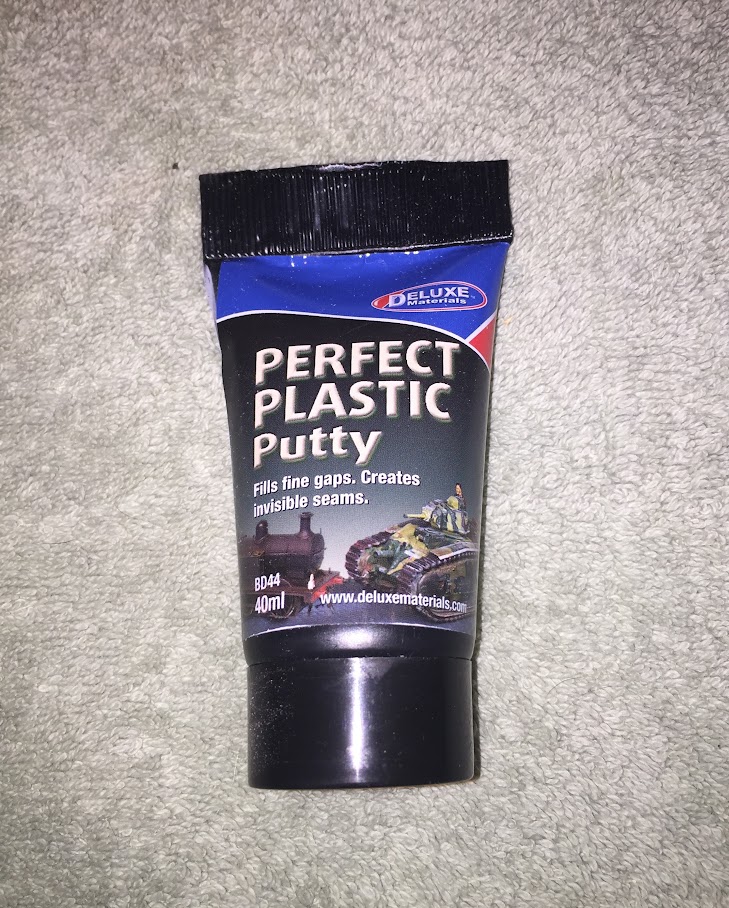
Perfect Plastic Putty (PPP)
Lots of praise for this one online, so I’d bought a tube about 3 months ago just to try it. I finally had my chance, but instead of using it on a cowling (I have to say, a big drawback of these Heller kits is fuselage alignment) I decided to use it for filling the seam along the wing roots. Every kit had a gap here, some wider than others. I slathered it on using my spatula and let it dry just a bit (like 20 minutes) then used a cotton bud dipped in water to smooth it out. Worked a treat! I then let it cure for 24 hours and used a damp cotton bud to remove any residue. I then shot it with primer and the finished seam looks great. I don’t think I’d use this for building up layers, but it seemed (groan) to work well.
Summary
At this point I think I have 3 new tools to add to my toolbox of fillers. Each has their place and I won’t get rid of my 3M Bondo, but when it’s gone, it’s gone. I hope to keep my seems at least level so I don’t need to build up layers, and if I do I’ll use the sprue/glue mixture followed by either 3M Bondo or the Mr Surfacer filler. If it’s a gap, I’ll use PPP as it’s easy to work and not smelly at all.
Thanks for looking…
2 thoughts on “Batch Build = New Techniques 1”
..thanks for that ..always used Squadron 'Green Stuff' but it dries out and becomes unuseable – although I have tried 'thinning' it with nail varnish remover (acetone). I've been thinking about trying PPP too recently but it seems a little pricey, about 7 GBP!
Good re/over view. I too have been interested finding a filler that I can work with, so your report is a great start.
re; the sprue/liquid glue; I have it mixed with Tamiya Extra Thin and have had pretty good success. I have used it only for small spots and seams, so it seems (groan)to hold up well, after it completely cures. Still on the fence about the PPP. I need more practice, though your results are encouraging news.