
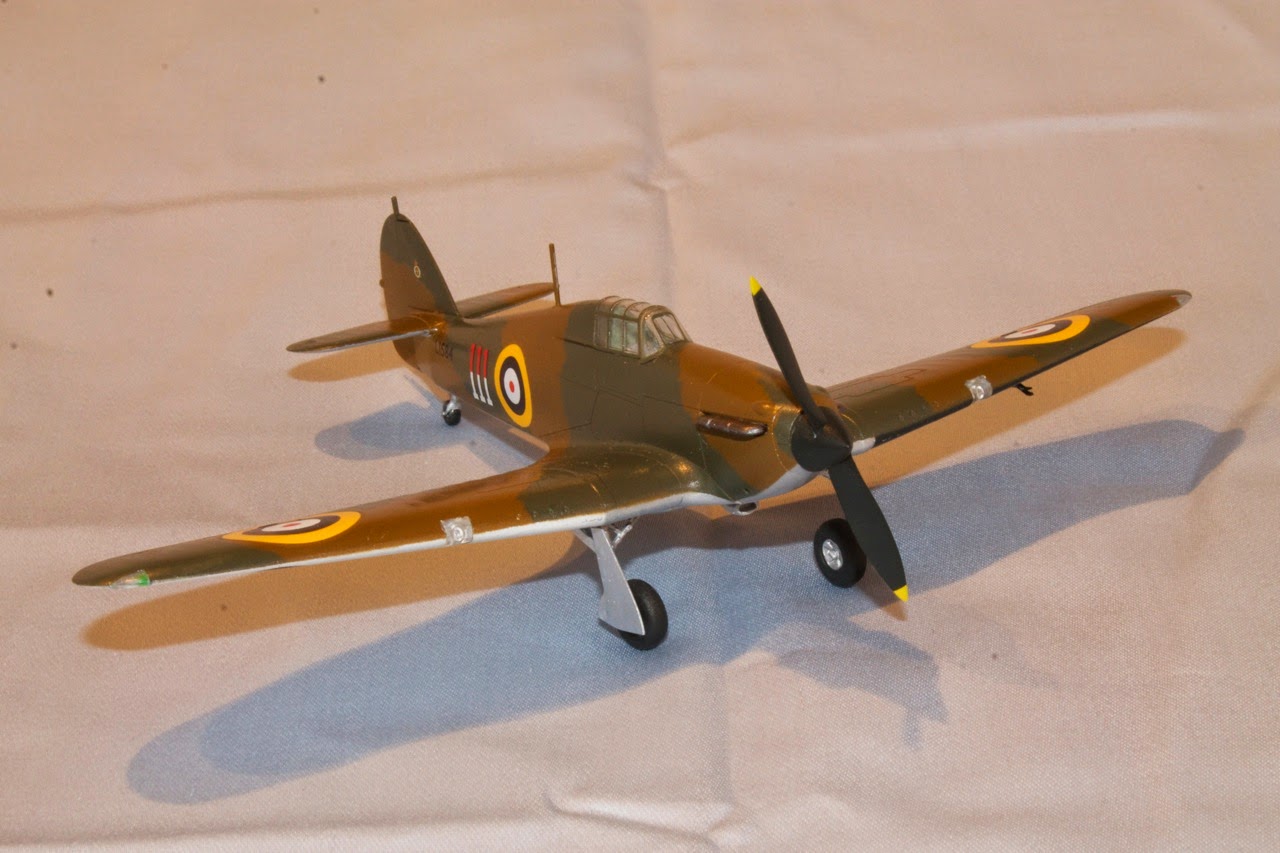
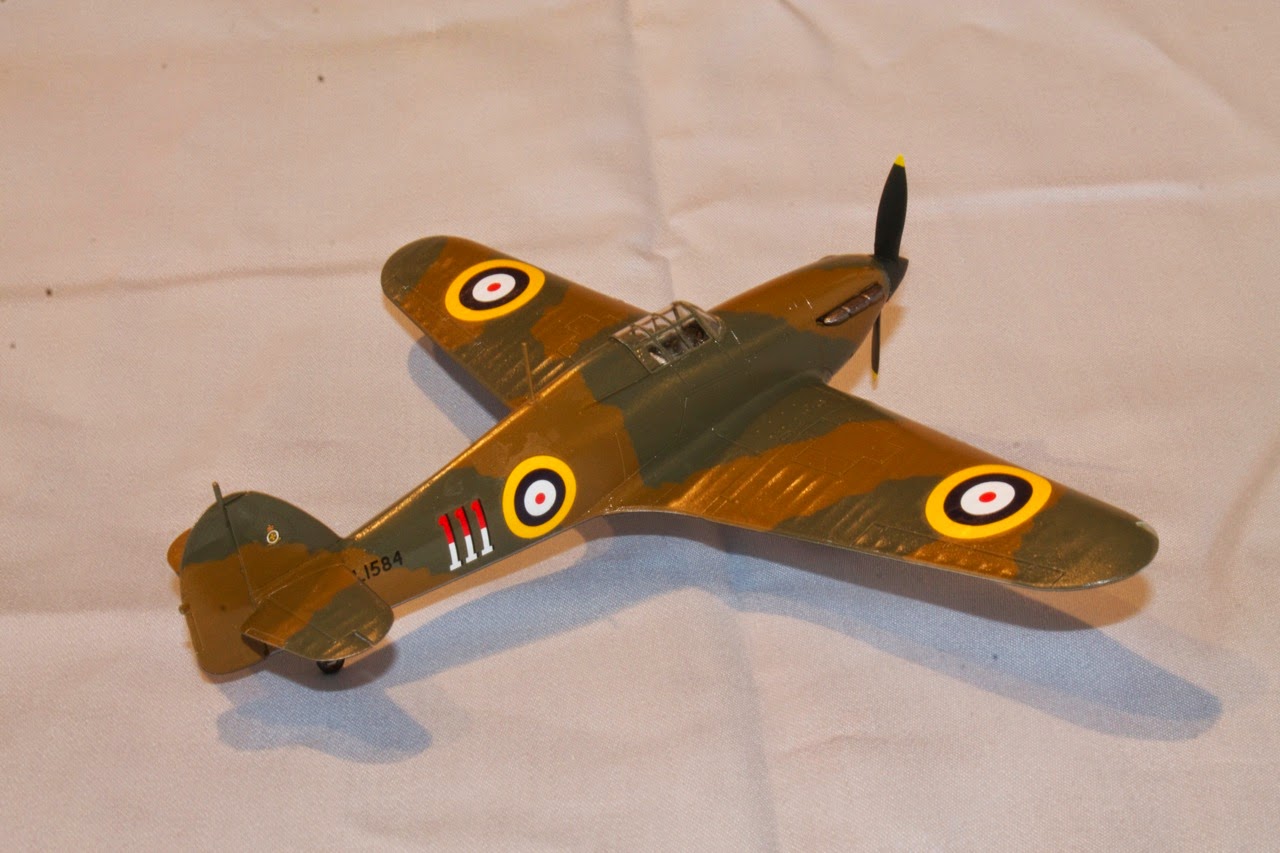
Hurricane Mk I, L1584, 111 Squadron, 1938

My Hurricane season is ending. I’ve had 6 of the Airfix Mk I Hurricanes in work as part of a batch build all Summer. Time to put them on the shelf.
The Subject
111 Squadron RAF was the first Hurricane squadron, receiving their aircraft beginning in late 1937. As war was looming the RAF wanted to show off their latest fighter at the Villacoublay Air Show in France on Bastille Day 1938. The aircraft wore standard camouflage and markings for the period, with the exception of the squadron number on the fuselage in flight colors. These were probably Red, Blue, and Yellow for A, B and C flights respectively.
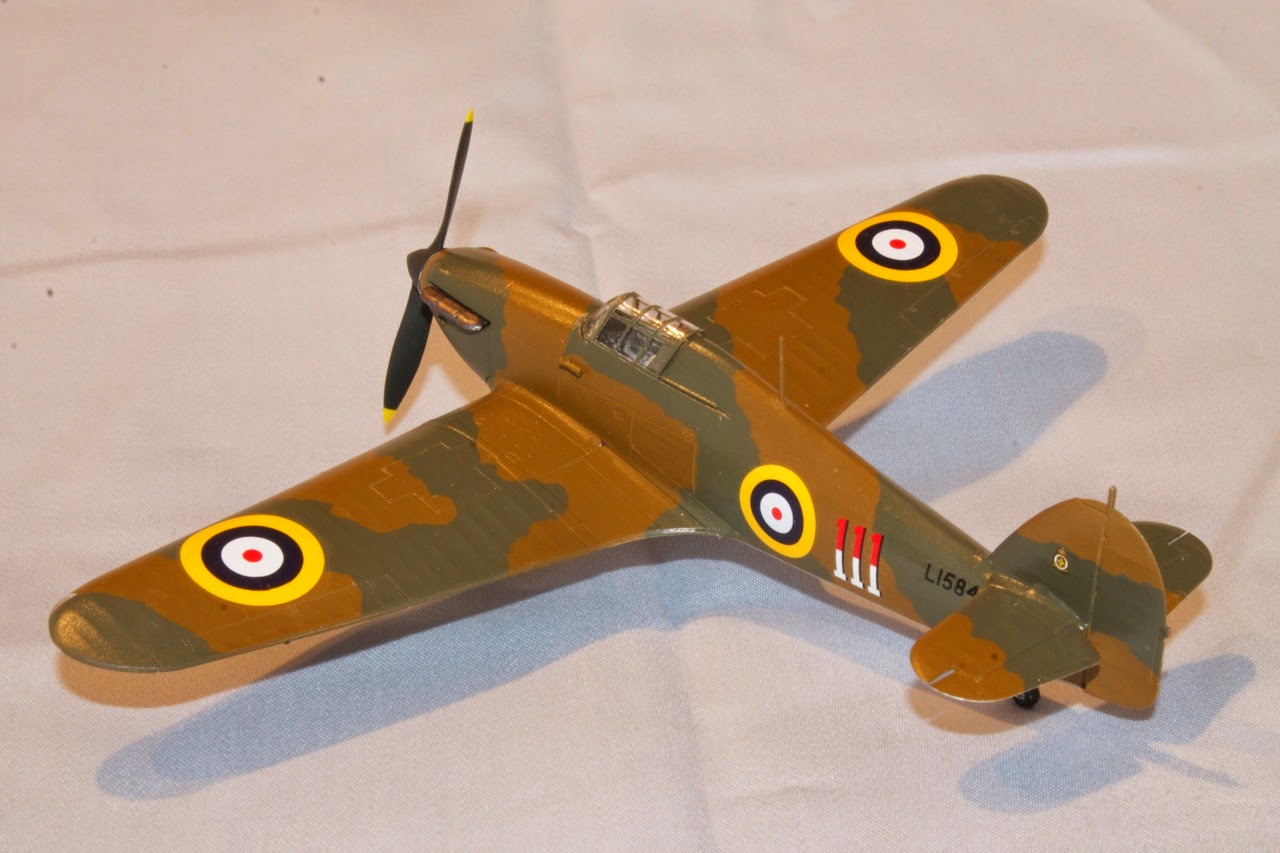
These were well photographed aircraft and the scheme makes for a pleasing subject on the modeling shelf.
The Model
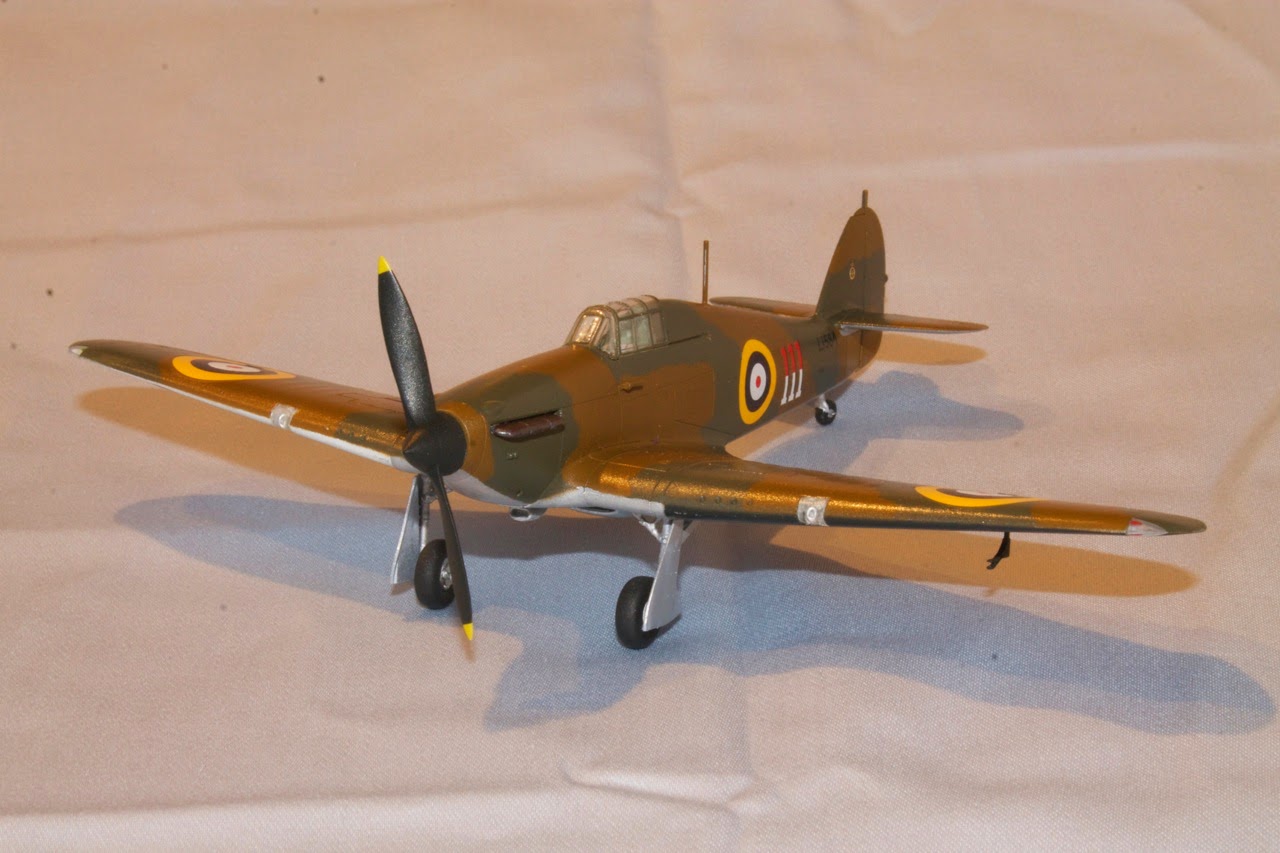
This is Airfix’s new tooling Hurricane Mk I with the early fabric wing. I cannot say much more about the kit than I said in my last build, I gushed about the ease of construction. That hasn’t changed! With this and subsequent kits I’ve added the Freightdog Models 5 spoke wheels (FDR72066) as well as using Peewit’s masks (M72001) for the canopy. Both are very highly recommended as they make a huge difference on an already great kit.
For this earliest of Hurricanes a few minor configuration changes have to be made. One is not in the instructions from Airfix. Obviously this has the two-blade Watts prop. Because it has the two-blade prop, there is no armor behind the pilot (it would not have been available then anyway) and the windscreen is not yet armored. It has the early pole type radio mast and the kidney style exhausts. The pitot is the early style.
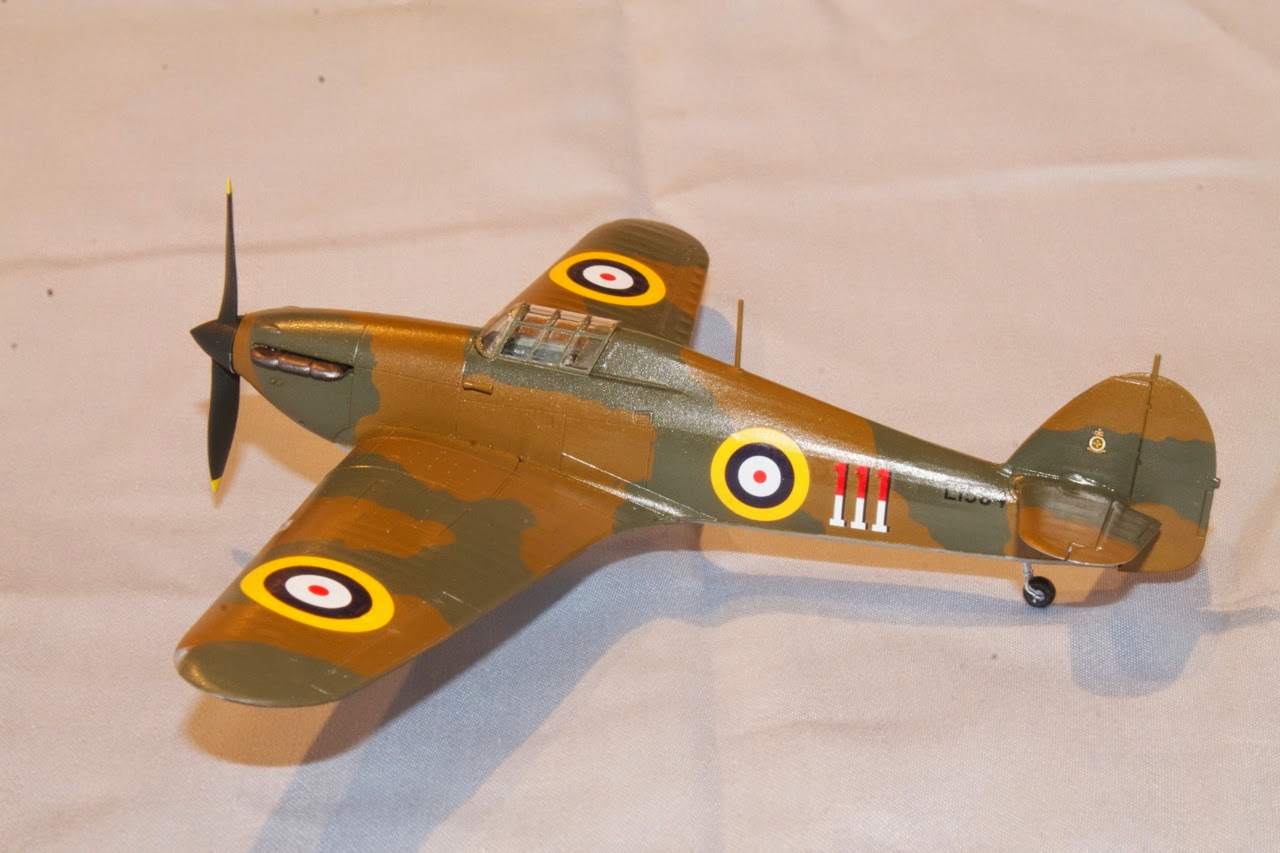
The modification not mentioned is the removal of the two bumps on the chin at the 4 & 8 o’clock positions on the nose just aft of the spinner. Those were added later with the Merlin III to make room for the vacuum pump and constant speed unit for the later DH prop. Of course, if there is no vacuum pump then the venturi should be installed on the port side of the fuselage. To be accurate, some aircraft with the Merlin II had the bumps, but didn’t need them, as the cowling mod preceded deliveries of the newer engines. So check photos…
I replaced the wing tip lights with clear styrene sprue from the kit. Really an easy task, just cut molded in lights out, paint the tips Aluminium, cut a small bit of sprue and sand it to a nice 90 degree flat surface so it fits well. I then use a small jeweler’s file to put a cut into the right angled area of the sprue, put a drop of red or green, then another coat of Aluminium. Glue it in with Cyano and when nice and hard (I wait a day) sand it all smooth followed by a good polish.
In the cockpit I painted everything Interior Grey Green by Model Master Acryl (4850), then painted the tubing and seat Aluminium. I also touched black to some knobs and used Tamiya Tape for seat belts. I sealed it all in with a coat of Future (Klear).
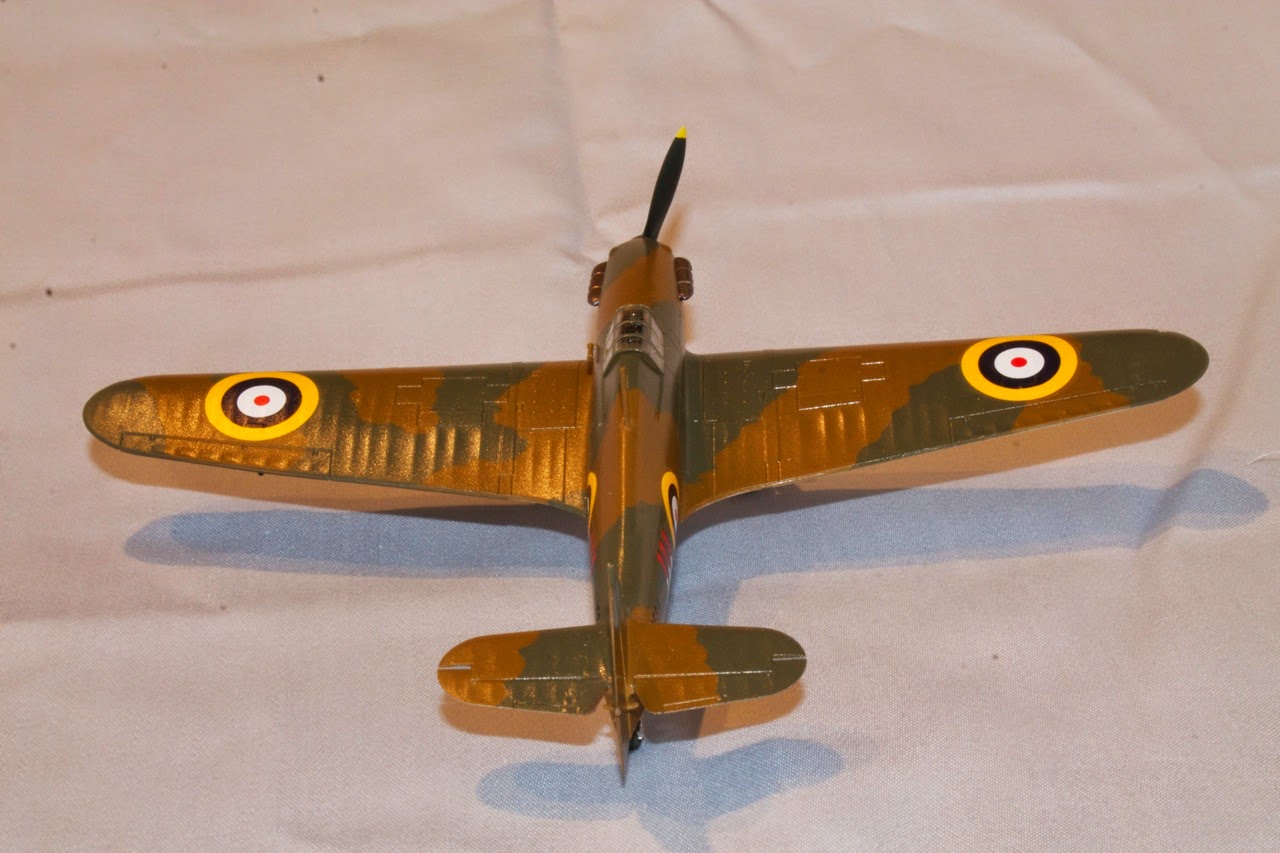
For painting I used my current standards: Vallejo 70.921 for Dark Earth, Tamiya XF81 for Dark Green, Tamiya XF16 for the Aluminium undersides. I struggled with the Aluminium as it kept lifting on the tape, no matter how much I let the paint cure or de-tacked the tape. Eventually I touched it up with a brush, which could be better. For Night I used Tamiya’s XF69, NATO Black. It’s not a true black with just a hint of green to a slightly off-black shade. I’ve found that a true black just looks wrong in this scale. Night is actually a blue-black but I haven’t found an off-black color out of the tin that satisfies the look I’m after any better than Tamiya’s XF69. The White is Tamiya’s XF2. I put a coat of Future over it all and let it cure for a few days before decals.
The kit decals went down just fine using Revell’s Decal Soft. I then put another coat of Future to seal it all in, followed by a misting of Microscale’s Clear Satin. I had some from years ago and it still seemed okay. I did thin it 50/50 with Airfix’s acrylic thinner. It toned down the glossiness just a tad. While these aircraft were well maintained and polished often, being pre-war, they probably wouldn’t have the very glossy sheen that Future leaves, especially in this scale.
Summary
This is a nice, easy, comfortable, quick and very enjoyable modeling experience. I’ve got another 5 in various stages of completion and if one ever wanted to try their first batch build, this is a model to try it!
Thanks for looking…